I got a lot of decommissioned equipment for free from my previous workplace. Among the items I acquired were two original Mac Pro 1,1 towers from 2006. The machines were almost identical to one another. Both had two dual-core 2.66 GHz Intel Xeon 5150 CPUs, an Nvidia GeForce 7300 GT GPU, and a full 16 GB (!) of DDR2 ECC RAM. The only difference I could spot was that one of them had a Bluetooth card and the other didn't.
Neither of the machines came with drives. However, I was allowed to pick any decommissioned HDDs after they had been securely erased, so I selected eight of the largest capacity ones. I also got the Mac OS X 10.4 Tiger install DVDs that came with the computers when they were new.
I had watched this excellent YouTube video series by Hrutkay Mods on upgrading the original Mac Pro 1,1 to the Mac Pro 2,1 spec and updating the firmware, so I proceeded to do the same on both machines. In this post, I'm going to focus on the first machine, since I also got a GPU upgrade for it (an Nvidia GeForce 8800 GT 1 GB with Mac firmware) for installing OS X 10.11 El Capitan on it. However, I repeated all the steps sans the GPU upgrade and 10.11 install on the other machine as well.
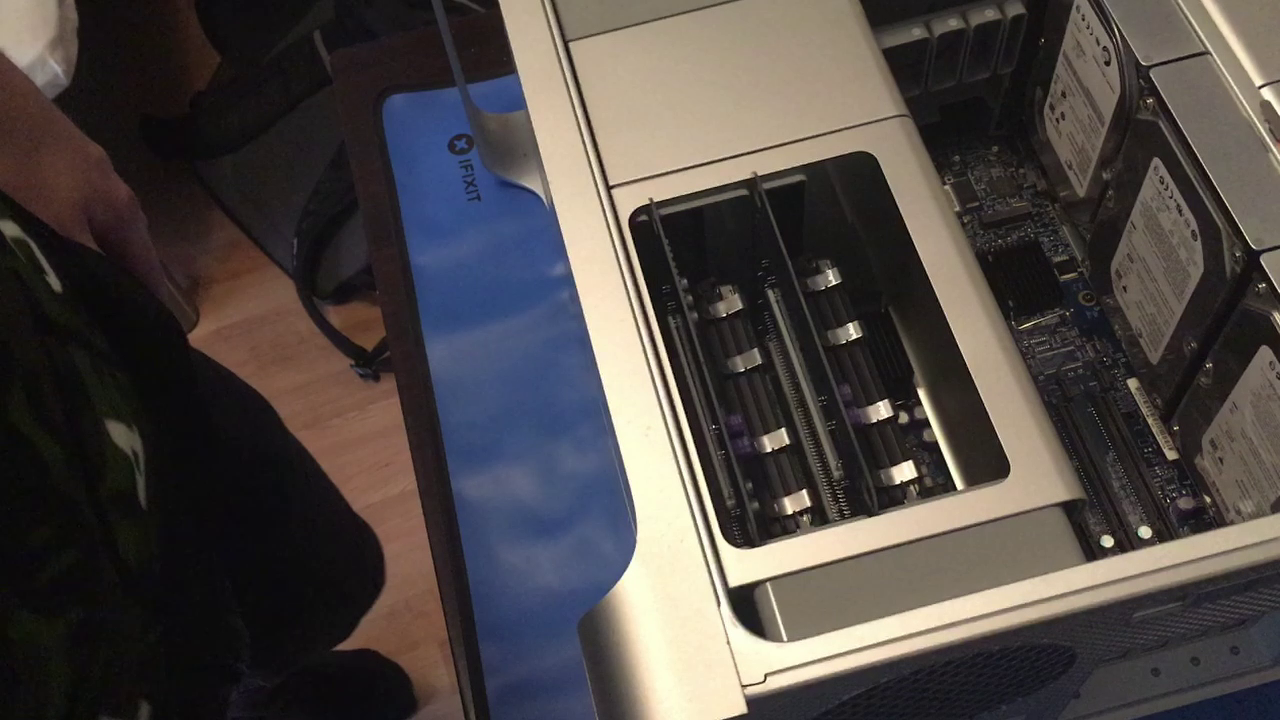
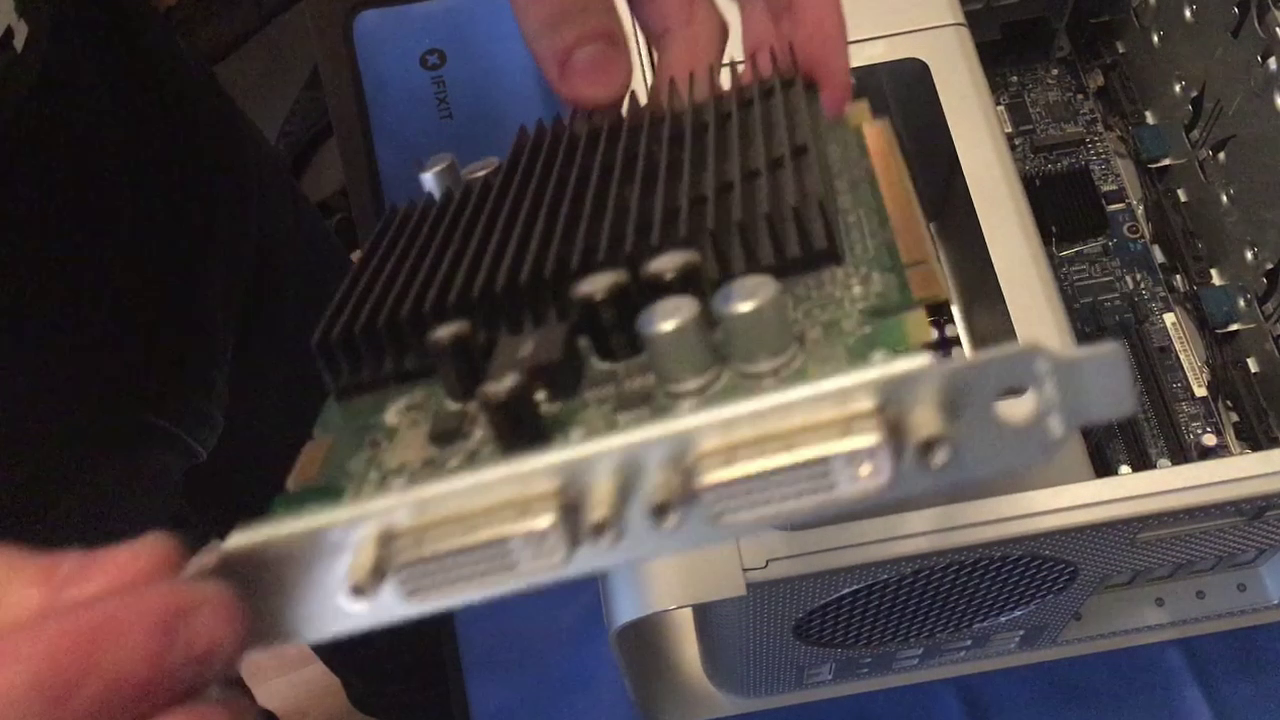
First came the disassembly. After toollessly removing the side panel, the HDD trays and the RAM trays, I first removed the original GPU.
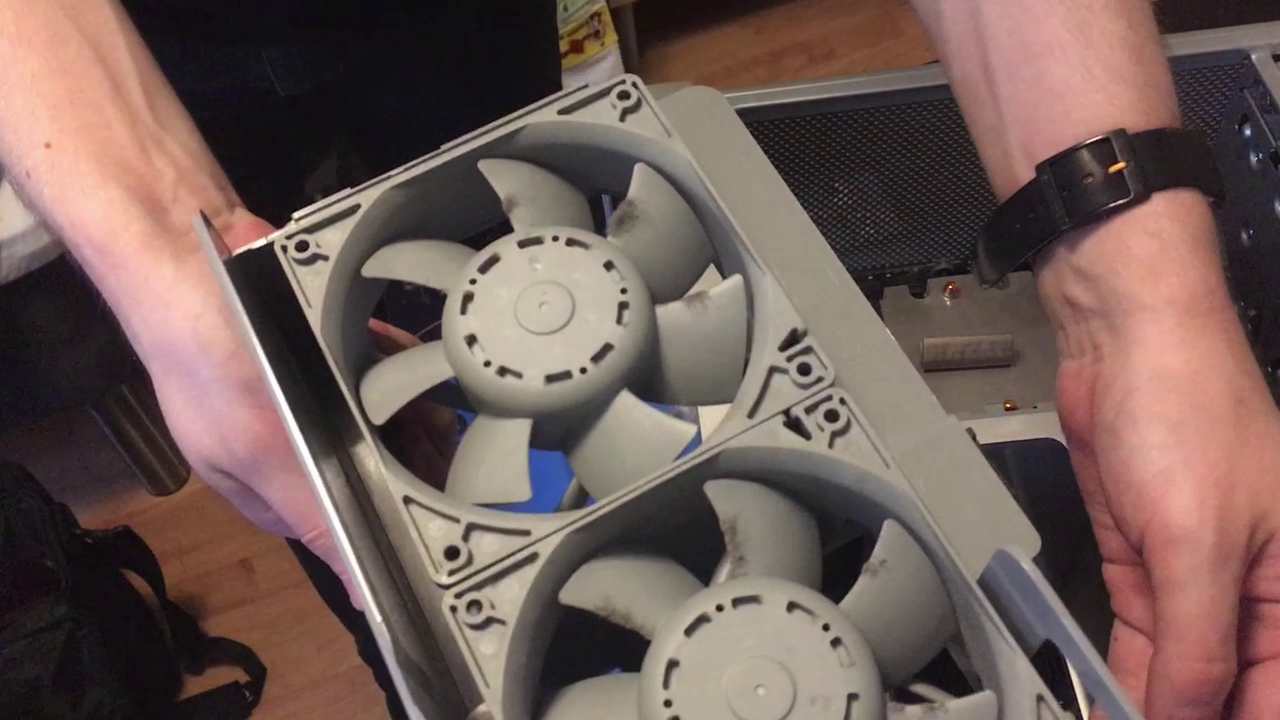
Next, I had a mighty struggle removing the shroud on top of the CPU heatsinks and the front fan assembly.
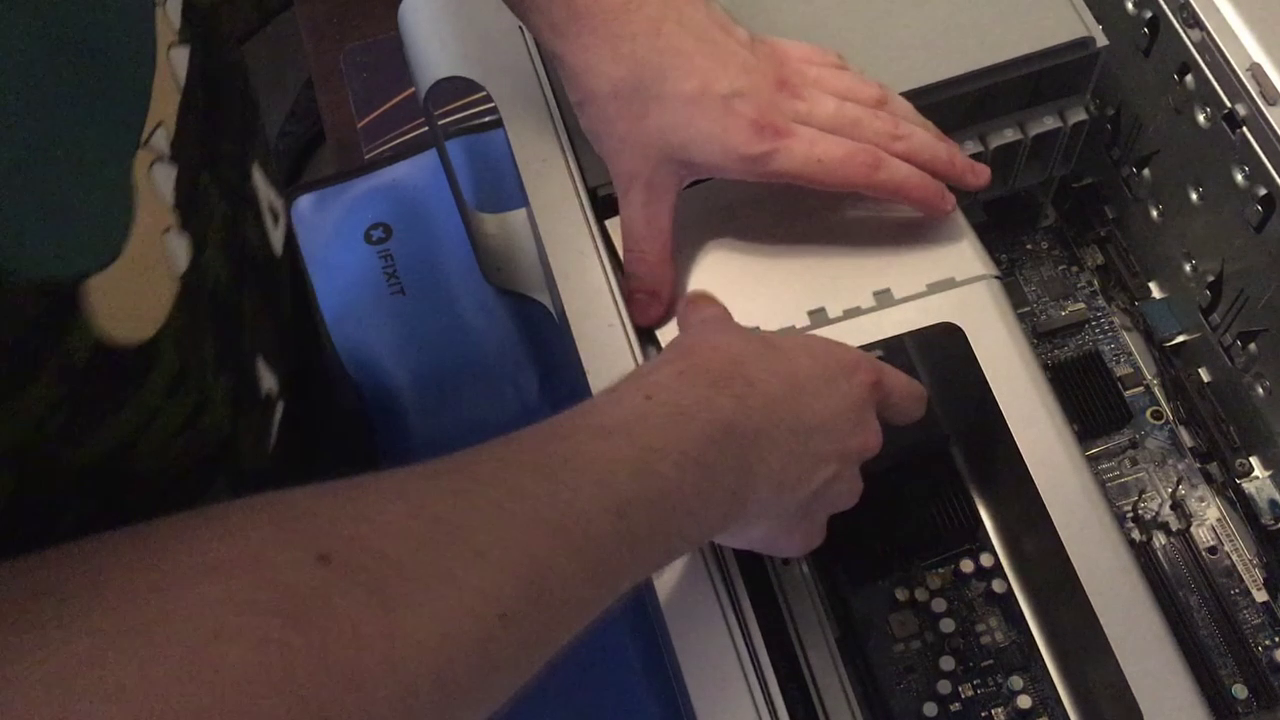
The airflow design of the Mac Pro is a curious one. The CPU heatsinks don't have fans attached to them. Instead, the front fans and the CPU heatsinks form an enclosed space where the airflow has nowhere else to go than through the heatsinks. The back of the RAM cage also has an exhaust fan.
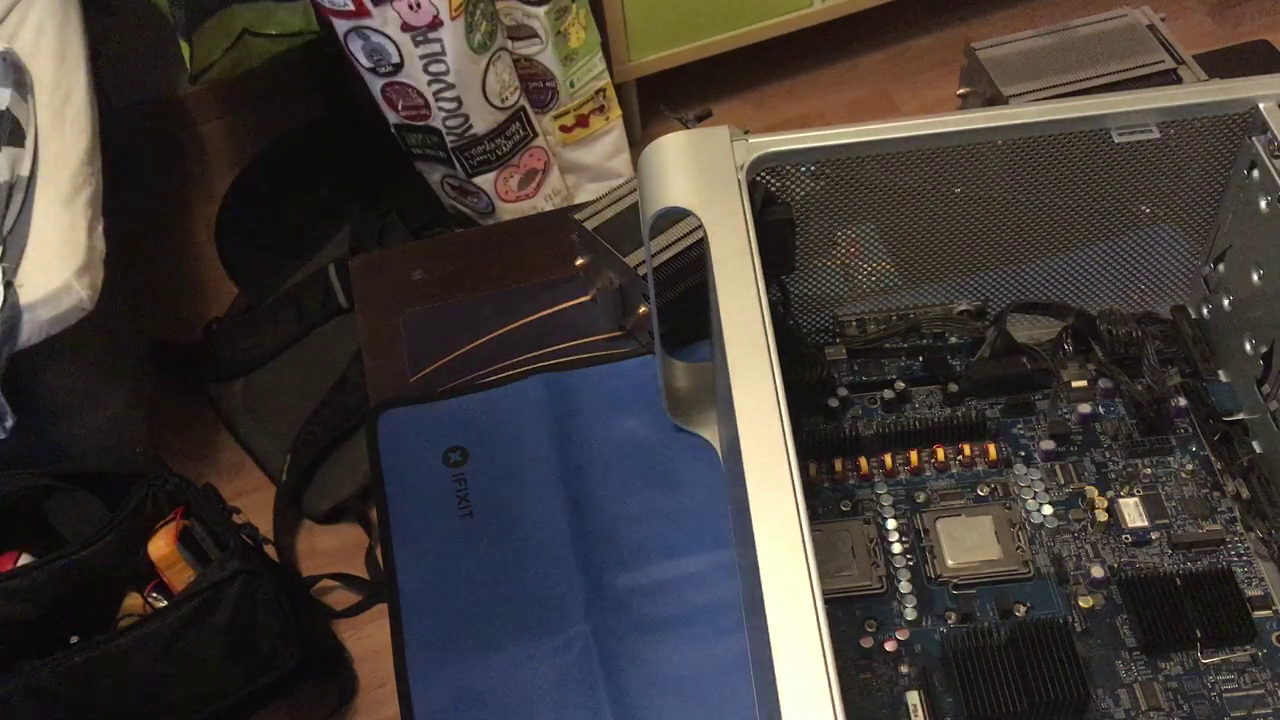
After removing the shroud and the front fan assembly, it was time to remove the CPU heatsinks themselves and the RAM cage.
The final step of the disassembly – removing the CPUs themselves:
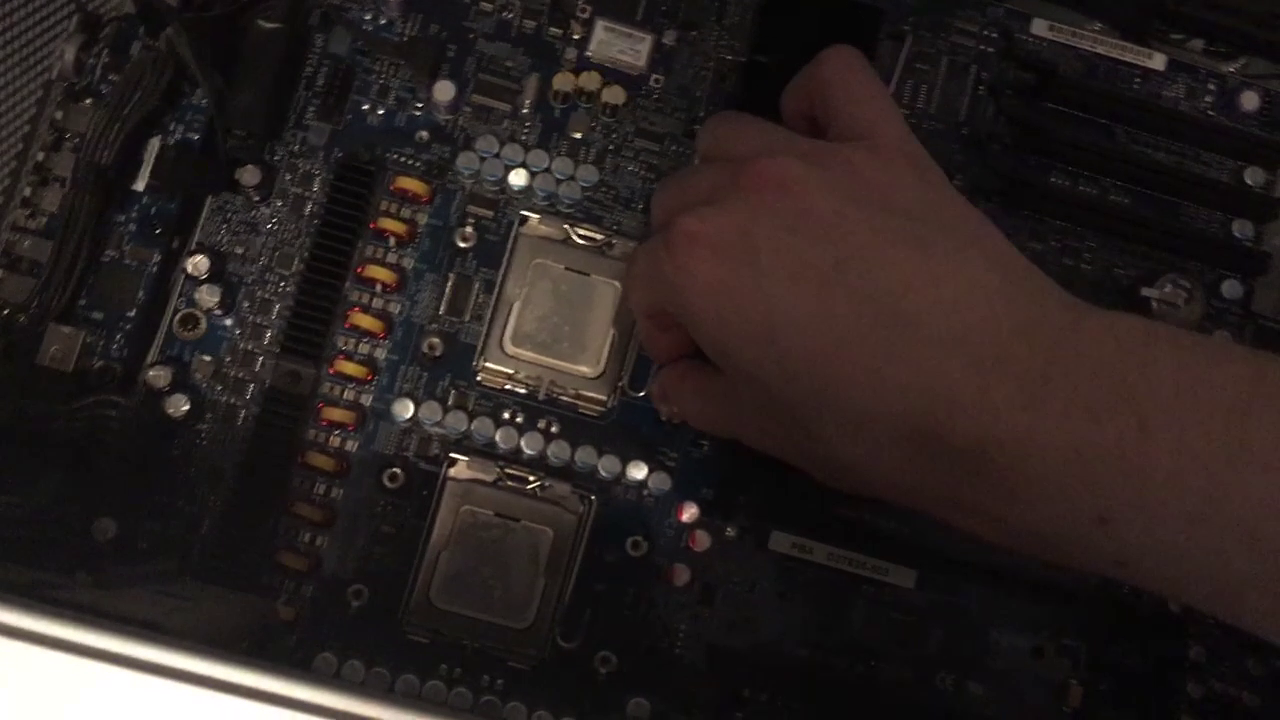
Then, it was time to install the CPU upgrade. The 2 × (for two computers) 2 × (for 2 CPUs per computer) Intel Quad Core Xeon X5365 3.0 GHz CPUs I got used from eBay cost next to nothing.
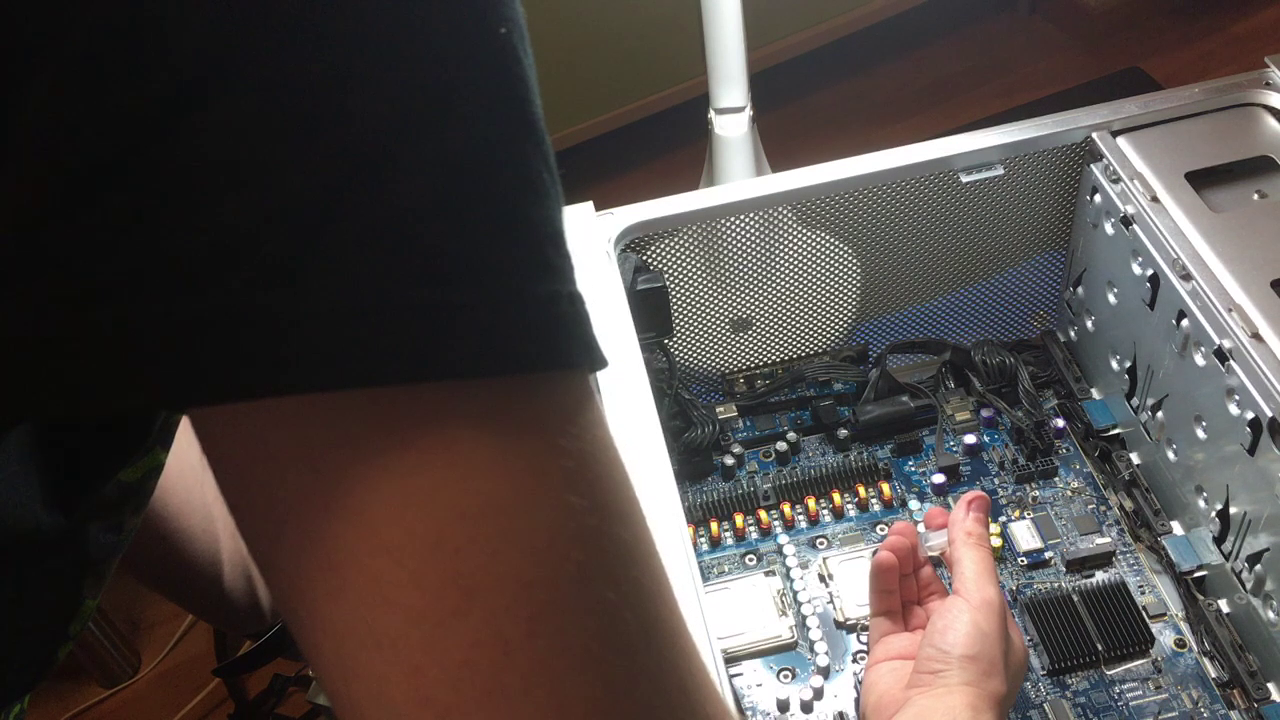
Reassembly was just the steps above backwards. At the end, it was time to install the GPU upgrade (Nvidia GeForce 8800 GT 1 GB). I also left the original GPU in the PC.
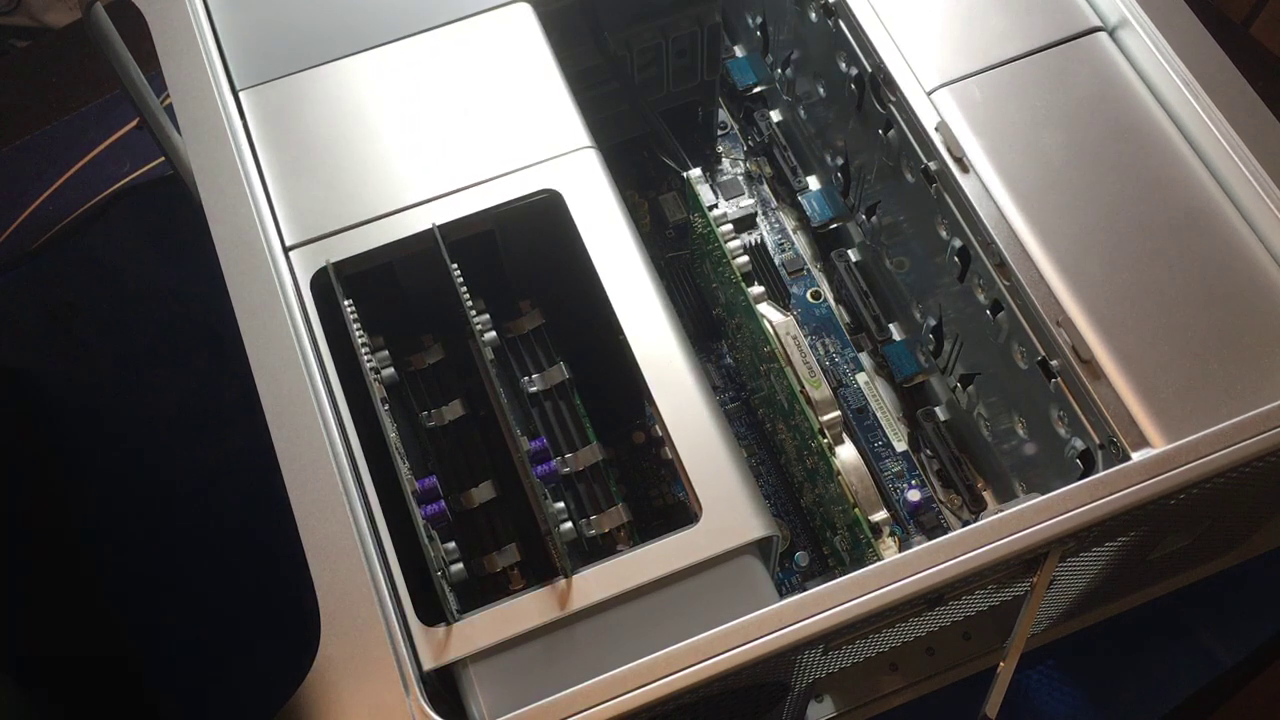
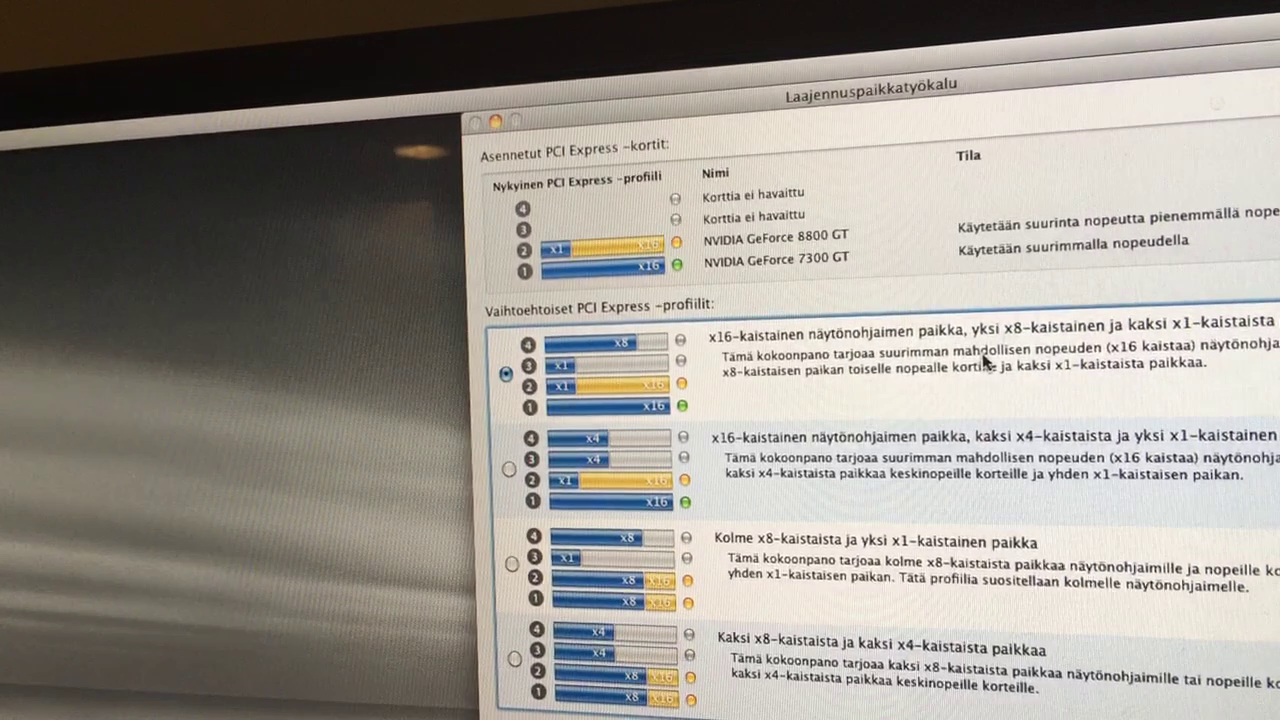
Before I started the upgrade process, I had installed Mac OS X 10.6 Snow Leopard on both the machines. After reassembling the first machine, it booted on first try, although I had to plug the monitor into the original GPU at first and then reallocate the PCI-e lanes and shuffle the upgraded GPU to a different PCI-e slot:
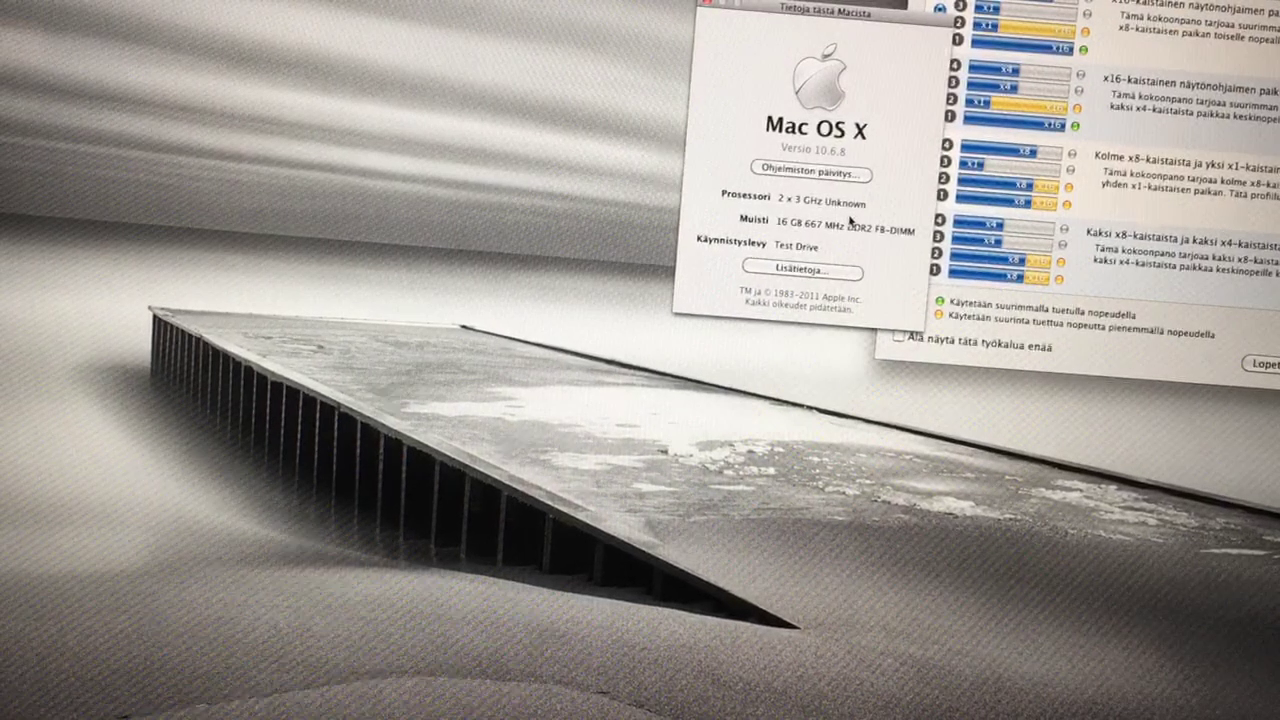
Before upgrading the firmware, About this Mac reported the upgraded CPUs as "2 × 3 GHz Unknown":
At this point, it was time to upgrade the EFI firmware. I followed the steps in the episode 17 of Hrutkay Mods' tutorial playlist. However, upon clicking the "Upgrade to 2007 Firmware" button in the Firmware tool, I got an error message stating "The program has encountered an error: 5530". I then followed the workaround in the pinned comment in the YouTube video, made by @bluevisor. The comment might be newer than my upgrade but the steps were the same. I might've just found the same instructions somewhere else. Here's the comment in its entirety:
To get around the 5530 error:
	⁃	Leave the Firmware Tool running, you should have an empty Ramdisk on your desktop
	⁃	Right click (or control click, if you don’t have right mouse button) on the "Mac Pro 2006-2007 Firmware Tool"
	⁃	Click "show package contents", then go to contents / resources. Copy everything inside this folder to the ramdisk on your desktop
	⁃	Open ExtractAndPatchEFIFiles.sh you just copied to ramdisk with any text editor
	⁃	Remove the following lines:
		⁃	hdiutil attach -nobrowse MacProEFI2006and2007.dmg
		⁃	rm -R Expanded
		⁃	rm -R System
		⁃	rm Payload
	⁃	Save, close this file
	⁃	Download firmware updater from apple: https://support.apple.com/kb/DL206?locale=en_US (if you see an empty “Download icon” text instead of a download button, try a different browser, or download from another computer)
	⁃	Mount the dmg file you just downloaded, no need to run the file inside
	⁃	Run ExtractAndPatchEFIFiles.sh (Open a terminal, drag and drop the file, hit enter)
	⁃	Run UpgradeEFI2006-2007.sh with sudo (type “sudo ” (with a space) in terminal, then drag and drop, hit enter. note: your mac user must have a password for this to work)
	⁃	If there’s no error, turn off your Mac Pro, hold power button for about 10 seconds, when you see power indicator flashing, release the button
	⁃	You should hear a loud beep, CD tray will eject, followed by a larger than usual progress bar
	⁃	You might need to reboot a couple of times for everything to work
Note:
	•	This might not work with El Capitan, use 10.6 or 10.7
	•	If your boot rom version doesn’t match the patch file, you’ll need to manually modify that file with a hex tool.
	•	You can find out your complete boot rom version by running a geekbench (https://www.geekbench.com/geekbench2/) test and look at the result (mine was MP11.88Z.005C.B08.0707021221)
	•	Inside MacProEFIUpdater2006.patch there are 4 strings related to boot rom, look at the 2nd and 4th string, if nothing matches your Mac Pro, replace with yours. Don’t insert, don’t touch the 1st and 3rd.
This worked fine, and the processors were now identified as "2 × 3 GHz Quad-Core Intel Xeon" in About this Mac.
Then, it was time to upgrade the SMC (basically adjusting the fan curves for the more powerful CPUs). I followed the steps in the episode 18 of Hrutkay Mods' playlist. This involved temporarily installing the rEFIt boot manager to gain access to an EFI shell. I had problems with modern flash drives, so I ended up using an old, external IDE hard drive.
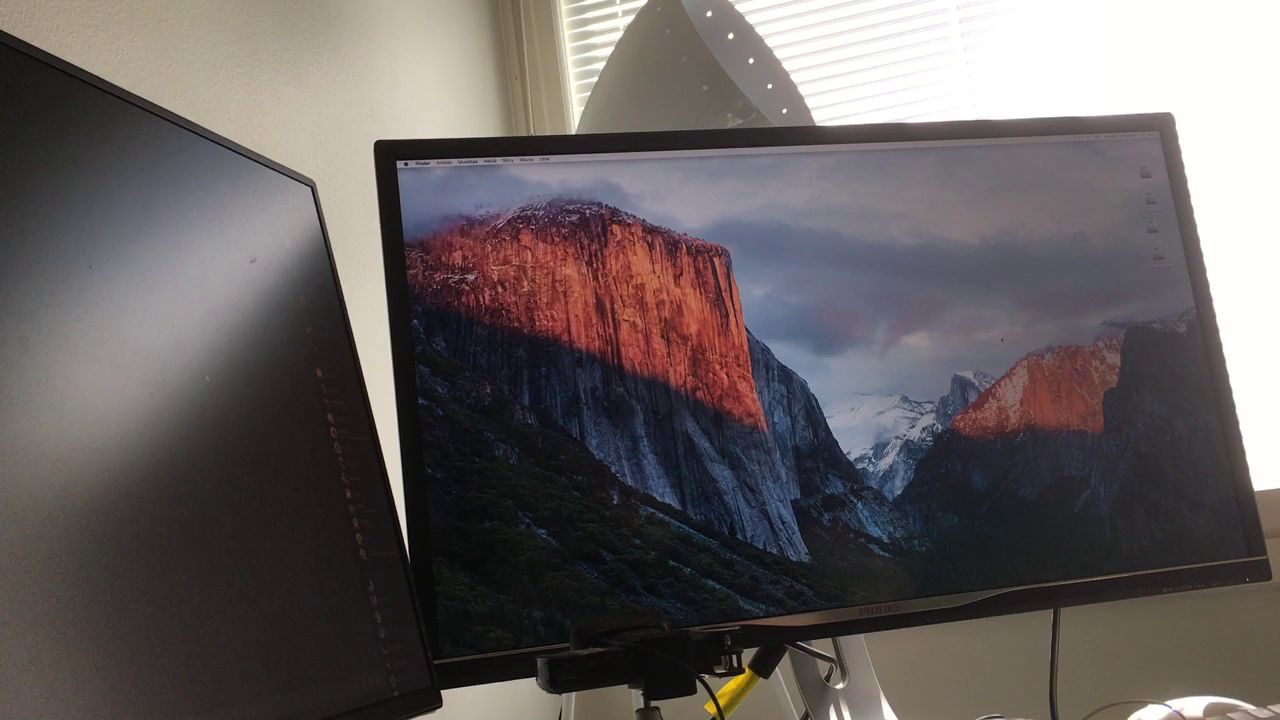
Finally, I installed El Capitan on a second HDD. There are various ways to do this. I won't go into more detail, but the methods are described in the YouTube playlist. At the end, I had a fully functional Mac Pro 2,1 with both 10.11 El Capitan and 10.6 Snow Leopard installed.
Then, it was just a repeat for the other machine, sans the GPU upgrade and the El Capitan install. The second time around things obviously went much smoother, as I had already troubleshot the pain points.
This post was retroactively compiled on 2024-01-14 from a long since privated YouTube video. All the images are still frames from the video.