
I got a lot of decommissioned equipment for free from my previous workplace, like the two Mac Pros I messed about with. Among the things I acquired were also two broken HP EliteBook business laptops. Both of them had been decommissioned because they were, well, broken. However, I was mainly interested in their 14″ 1920 × 1080 panels. I had watched DIY Perks' excellent YouTube video on building a screen out of a recycled laptop panel and basically wanted to do the same.
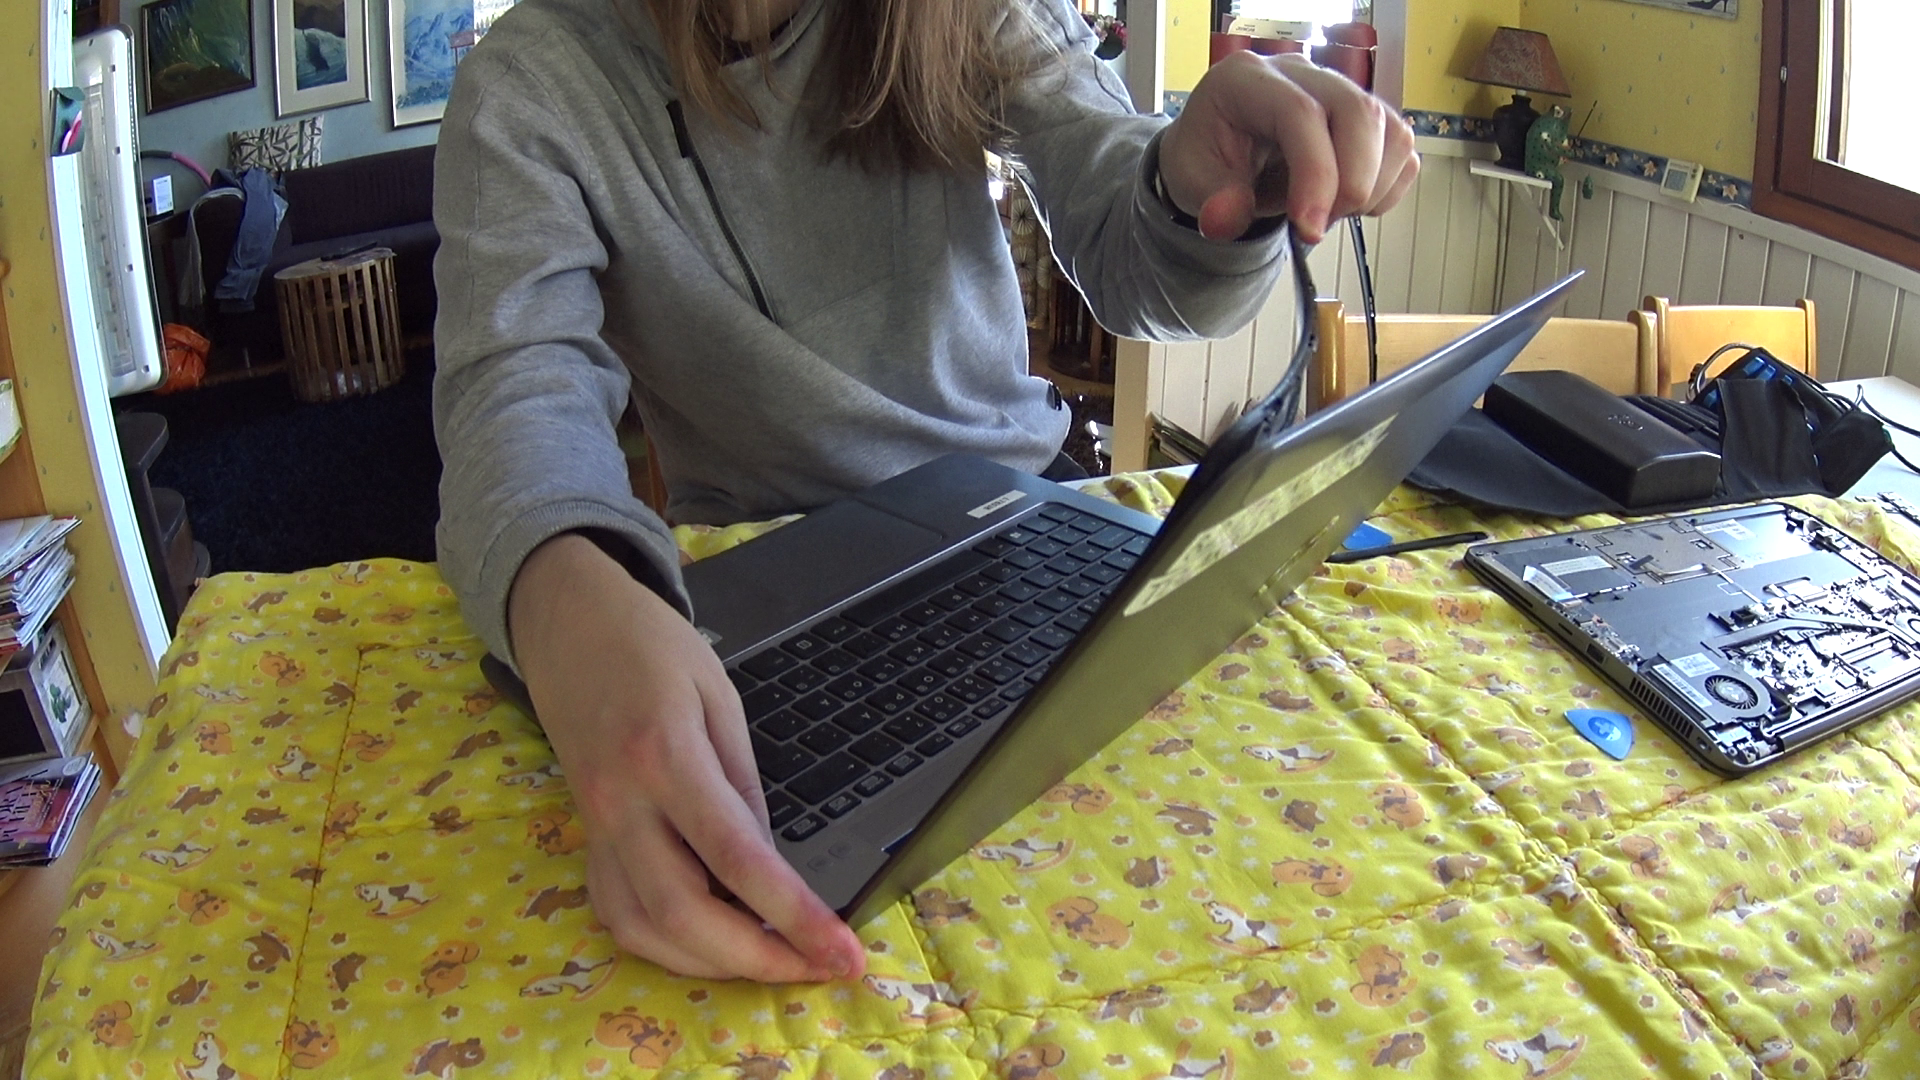
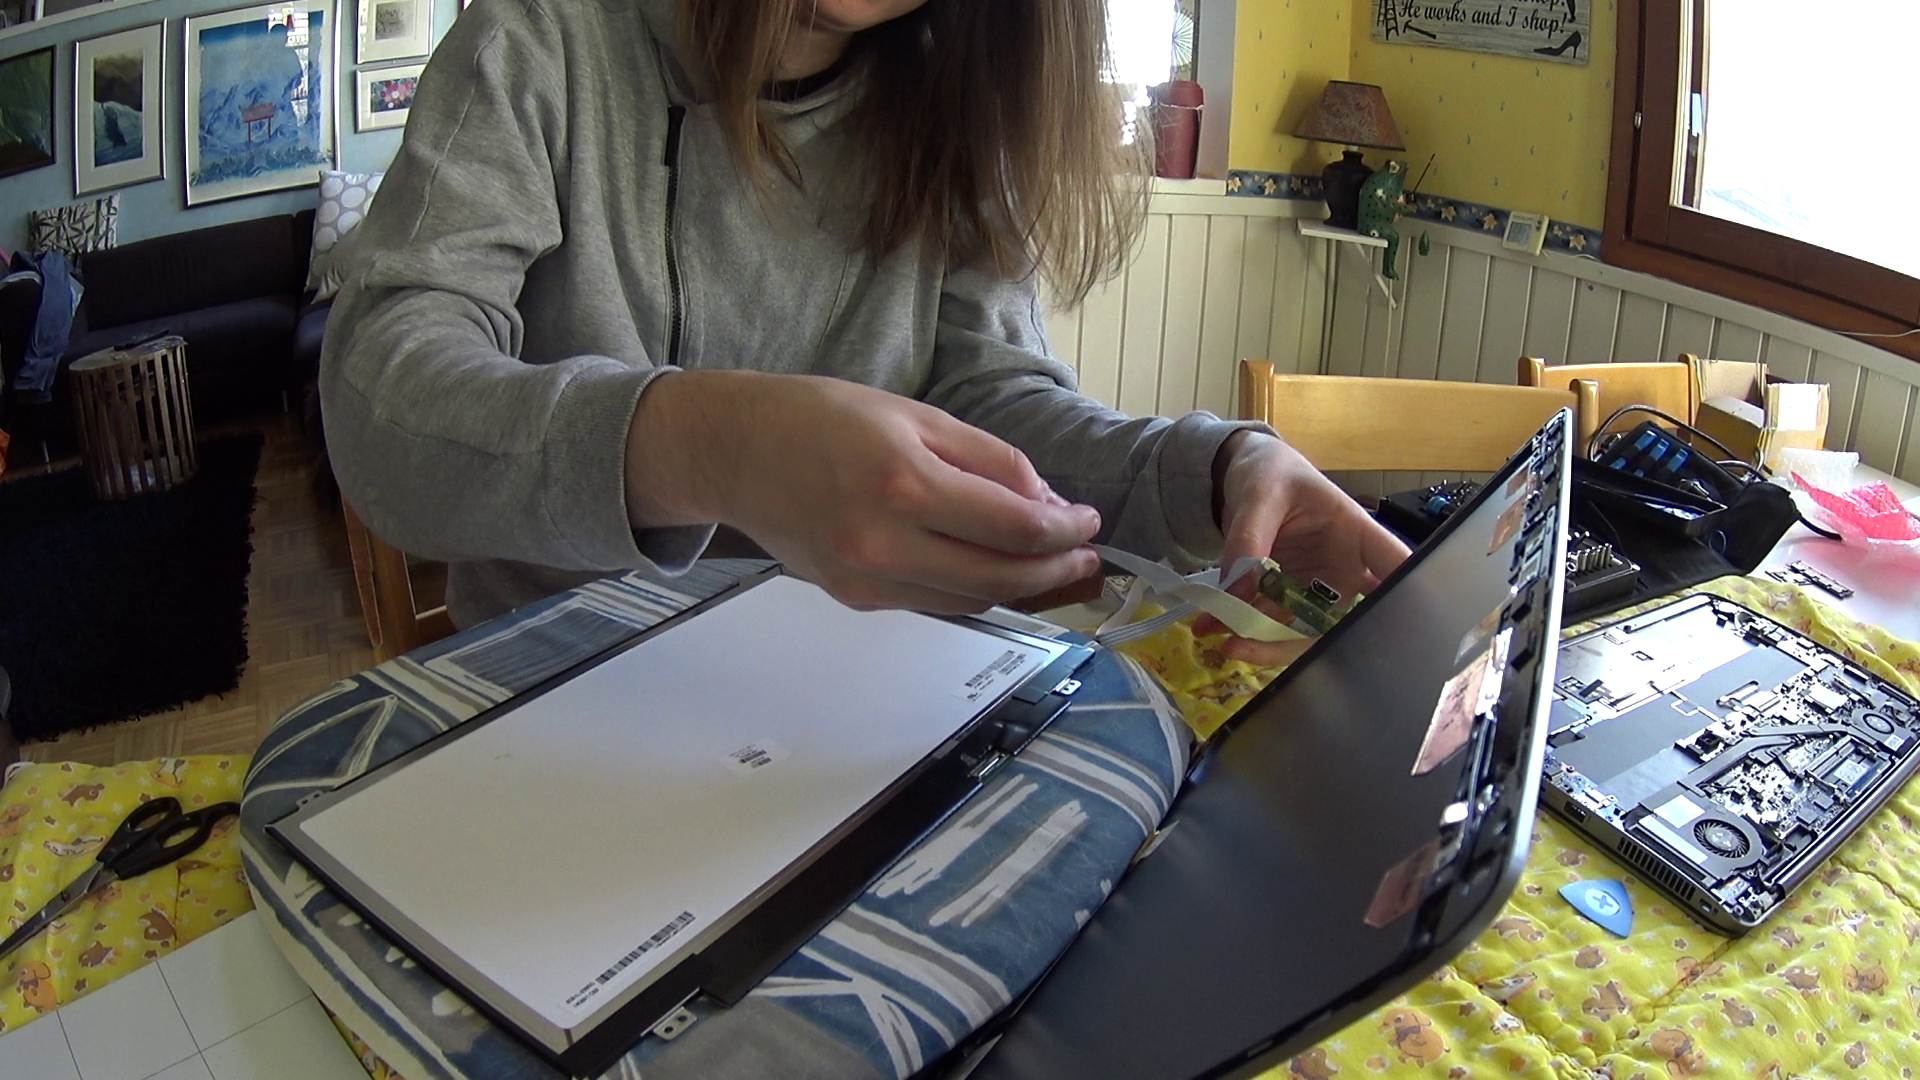
I had ordered a control board for each of the screens from eBay and purchased two adjustable switching power supplies, as unlike in the original DIY Perks video, I didn't want to bother with supplying power over USB. After having extracted the panel from the laptop carcass, it was time to wire the panel up to the board.
Then I just had to adjust the power supply correctly and find the correct barrel jack.
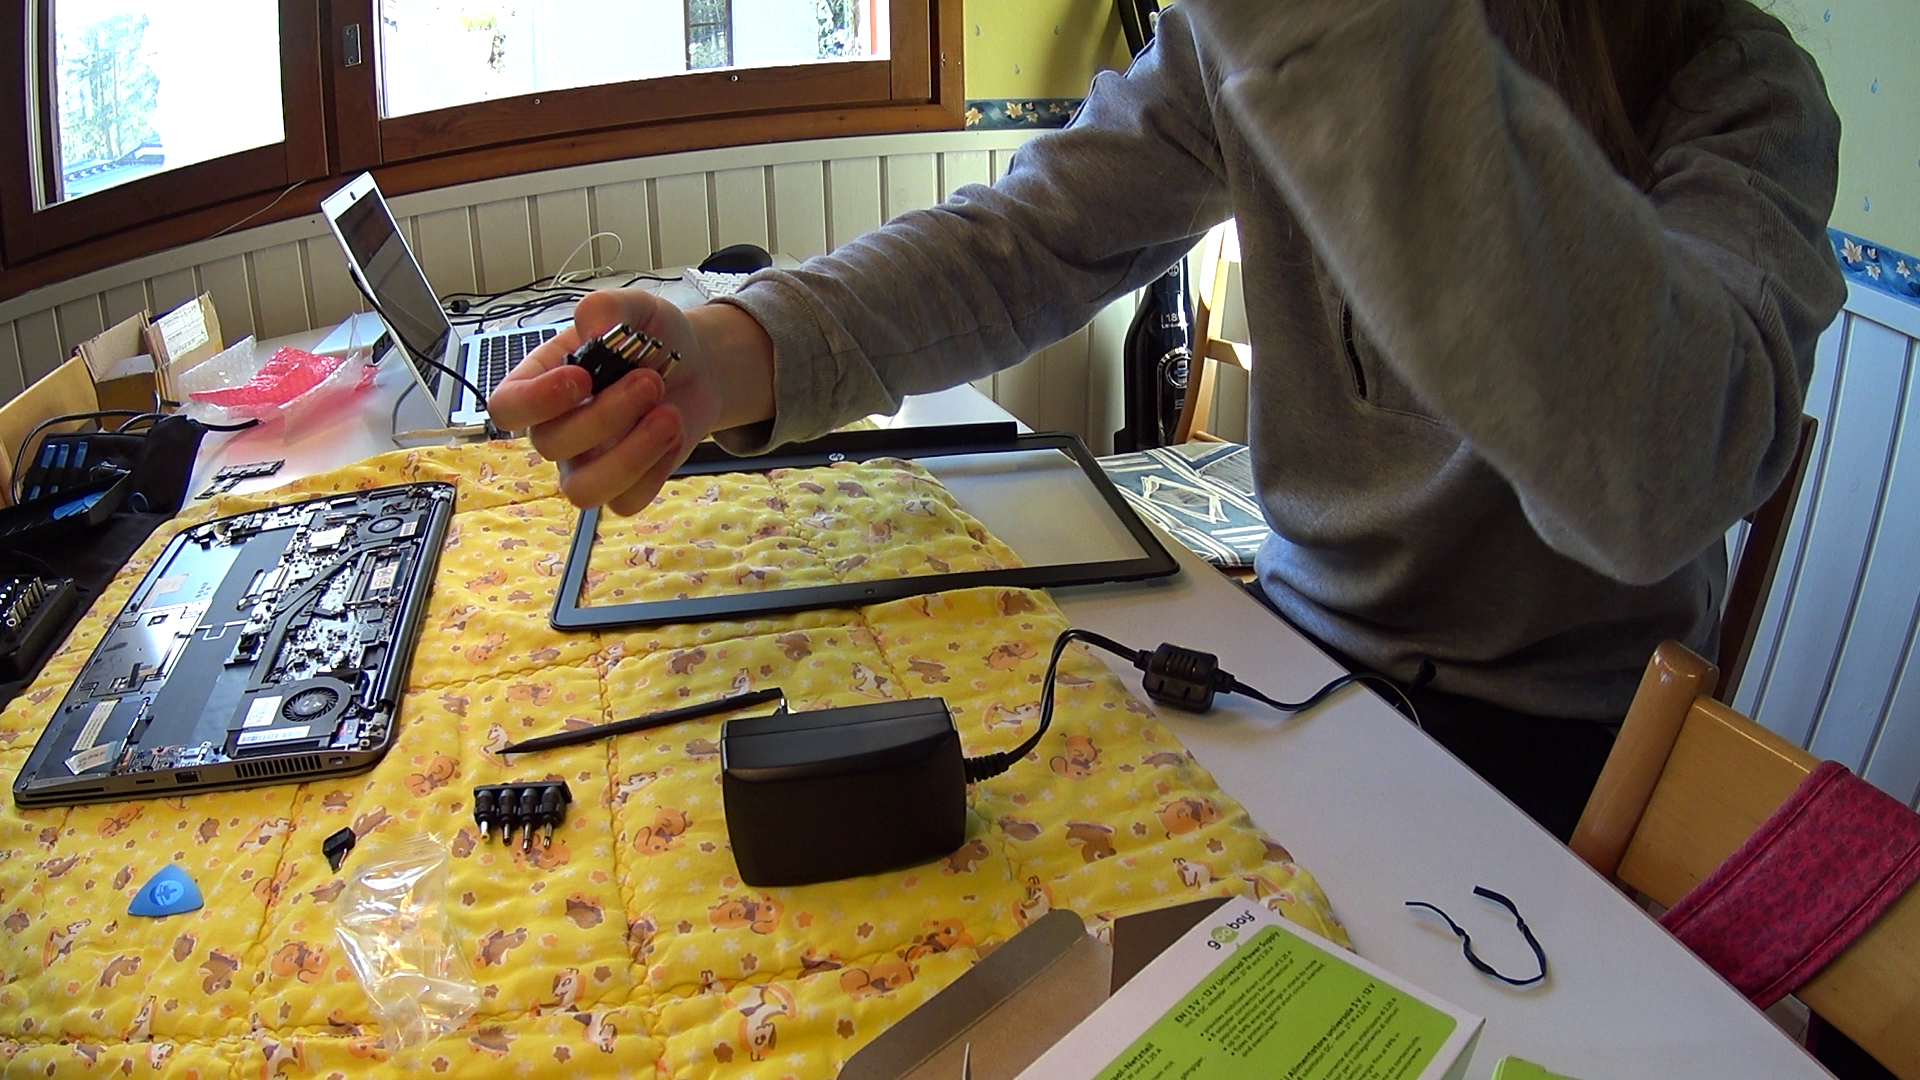
The initial smoke test was successful. The calibration values of the control board were way off, though.
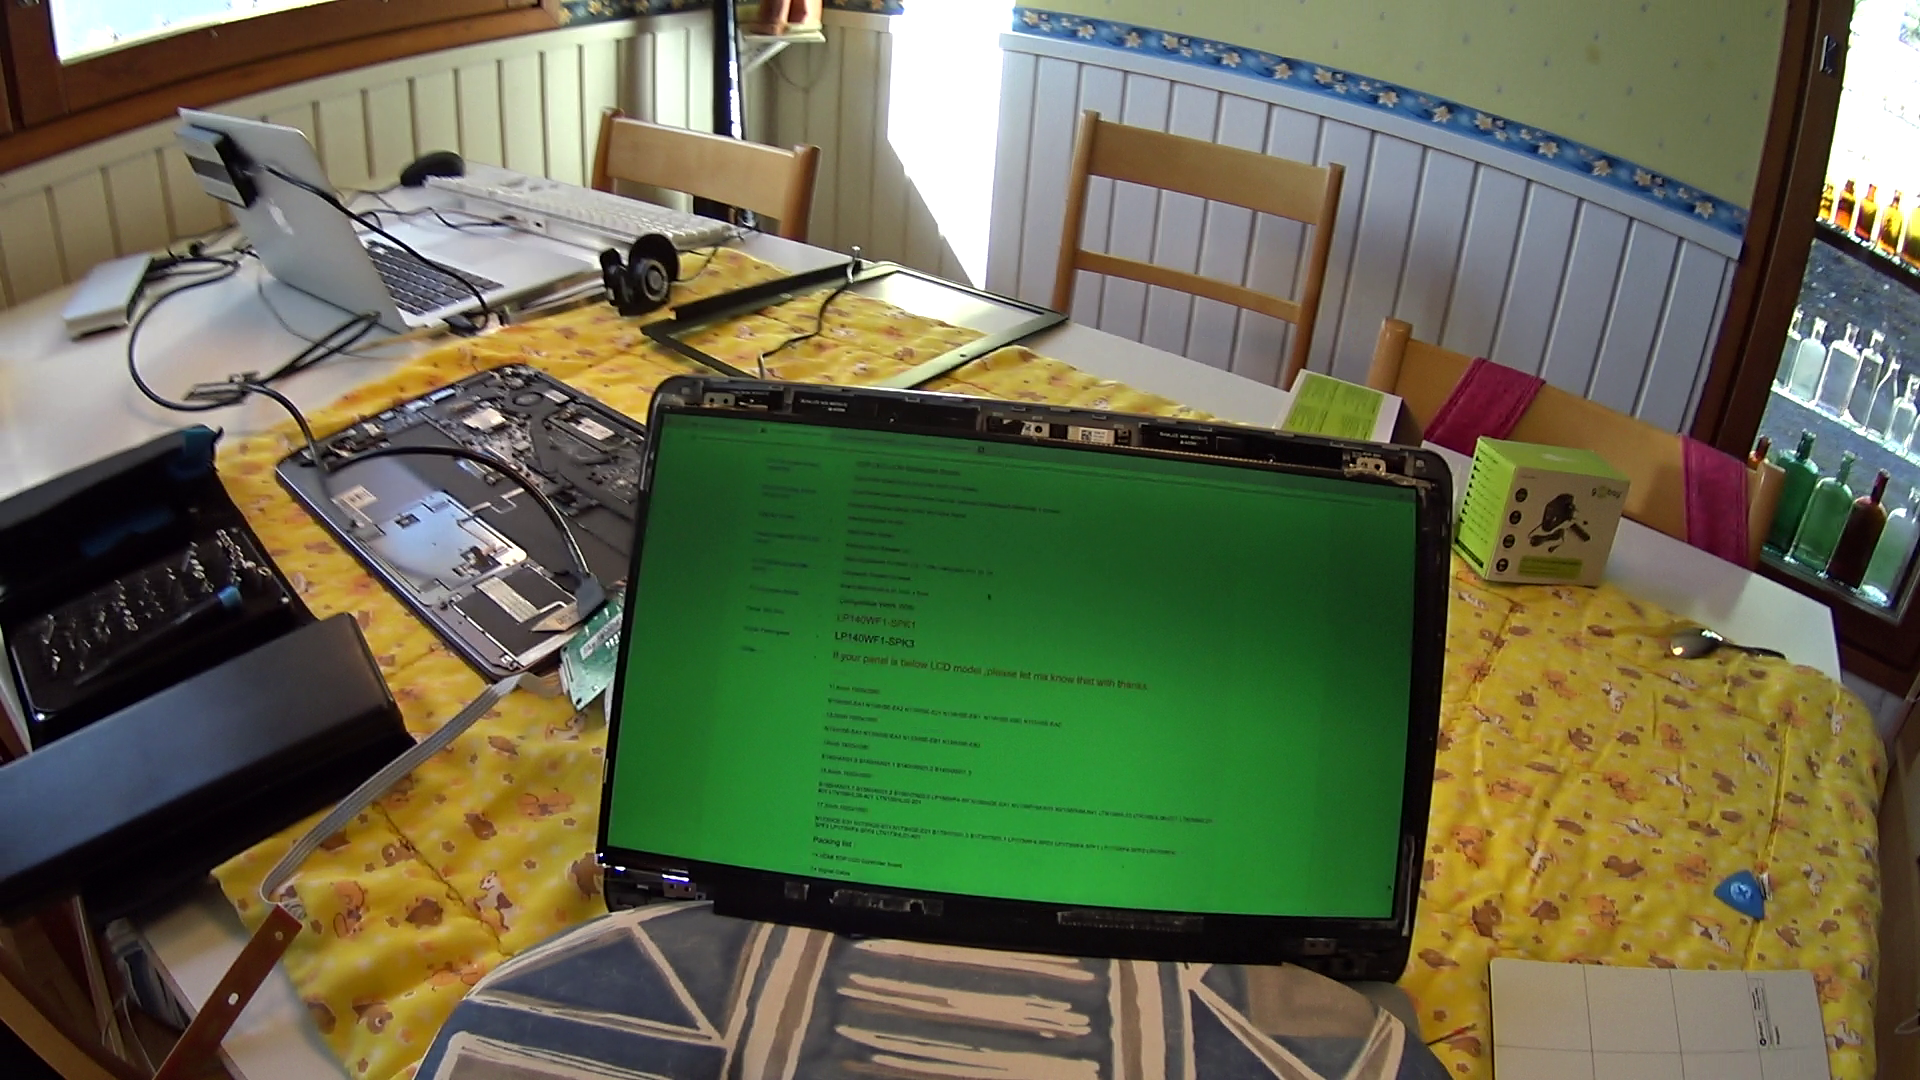
After I had extracted the second screen as well, my father built a wooden frame for both of the panels, and we mounted the panels and the control boards to the frames. My father also built a wooden carrying case for both of them, as well as a wooden kickstand to prop them up. After adjusting all the picture parameters to 50/100, the image looked just as good as on a functional HP EliteBook.
This post was retroactively compiled on 2024-01-15 from a video recording of the process I never got around to editing. All the images are still frames from the video. I still use one of the monitors when I'm visiting my parents and have to work remotely. The screen matches my work EliteBook perfectly as a secondary monitor!