
In the late winter of 2023–2024, the Shitbox server was still running Windows 10 (soon out of support) and didn't meet the minimum system requirements for Windows 11. I was pondering the future of that build. Basically, I had three realistic options:
Given that I had just happened to find and a used RetroTINK 5x Pro, I knew I needed to add some sort of HDMI capture device to the build to start digitizing my family's old VHS tapes. Combine that with the second recent find, a ridiculous Chieftec Dragon full tower case, I had the itch to mess with hardware and thus decided to go with option three.
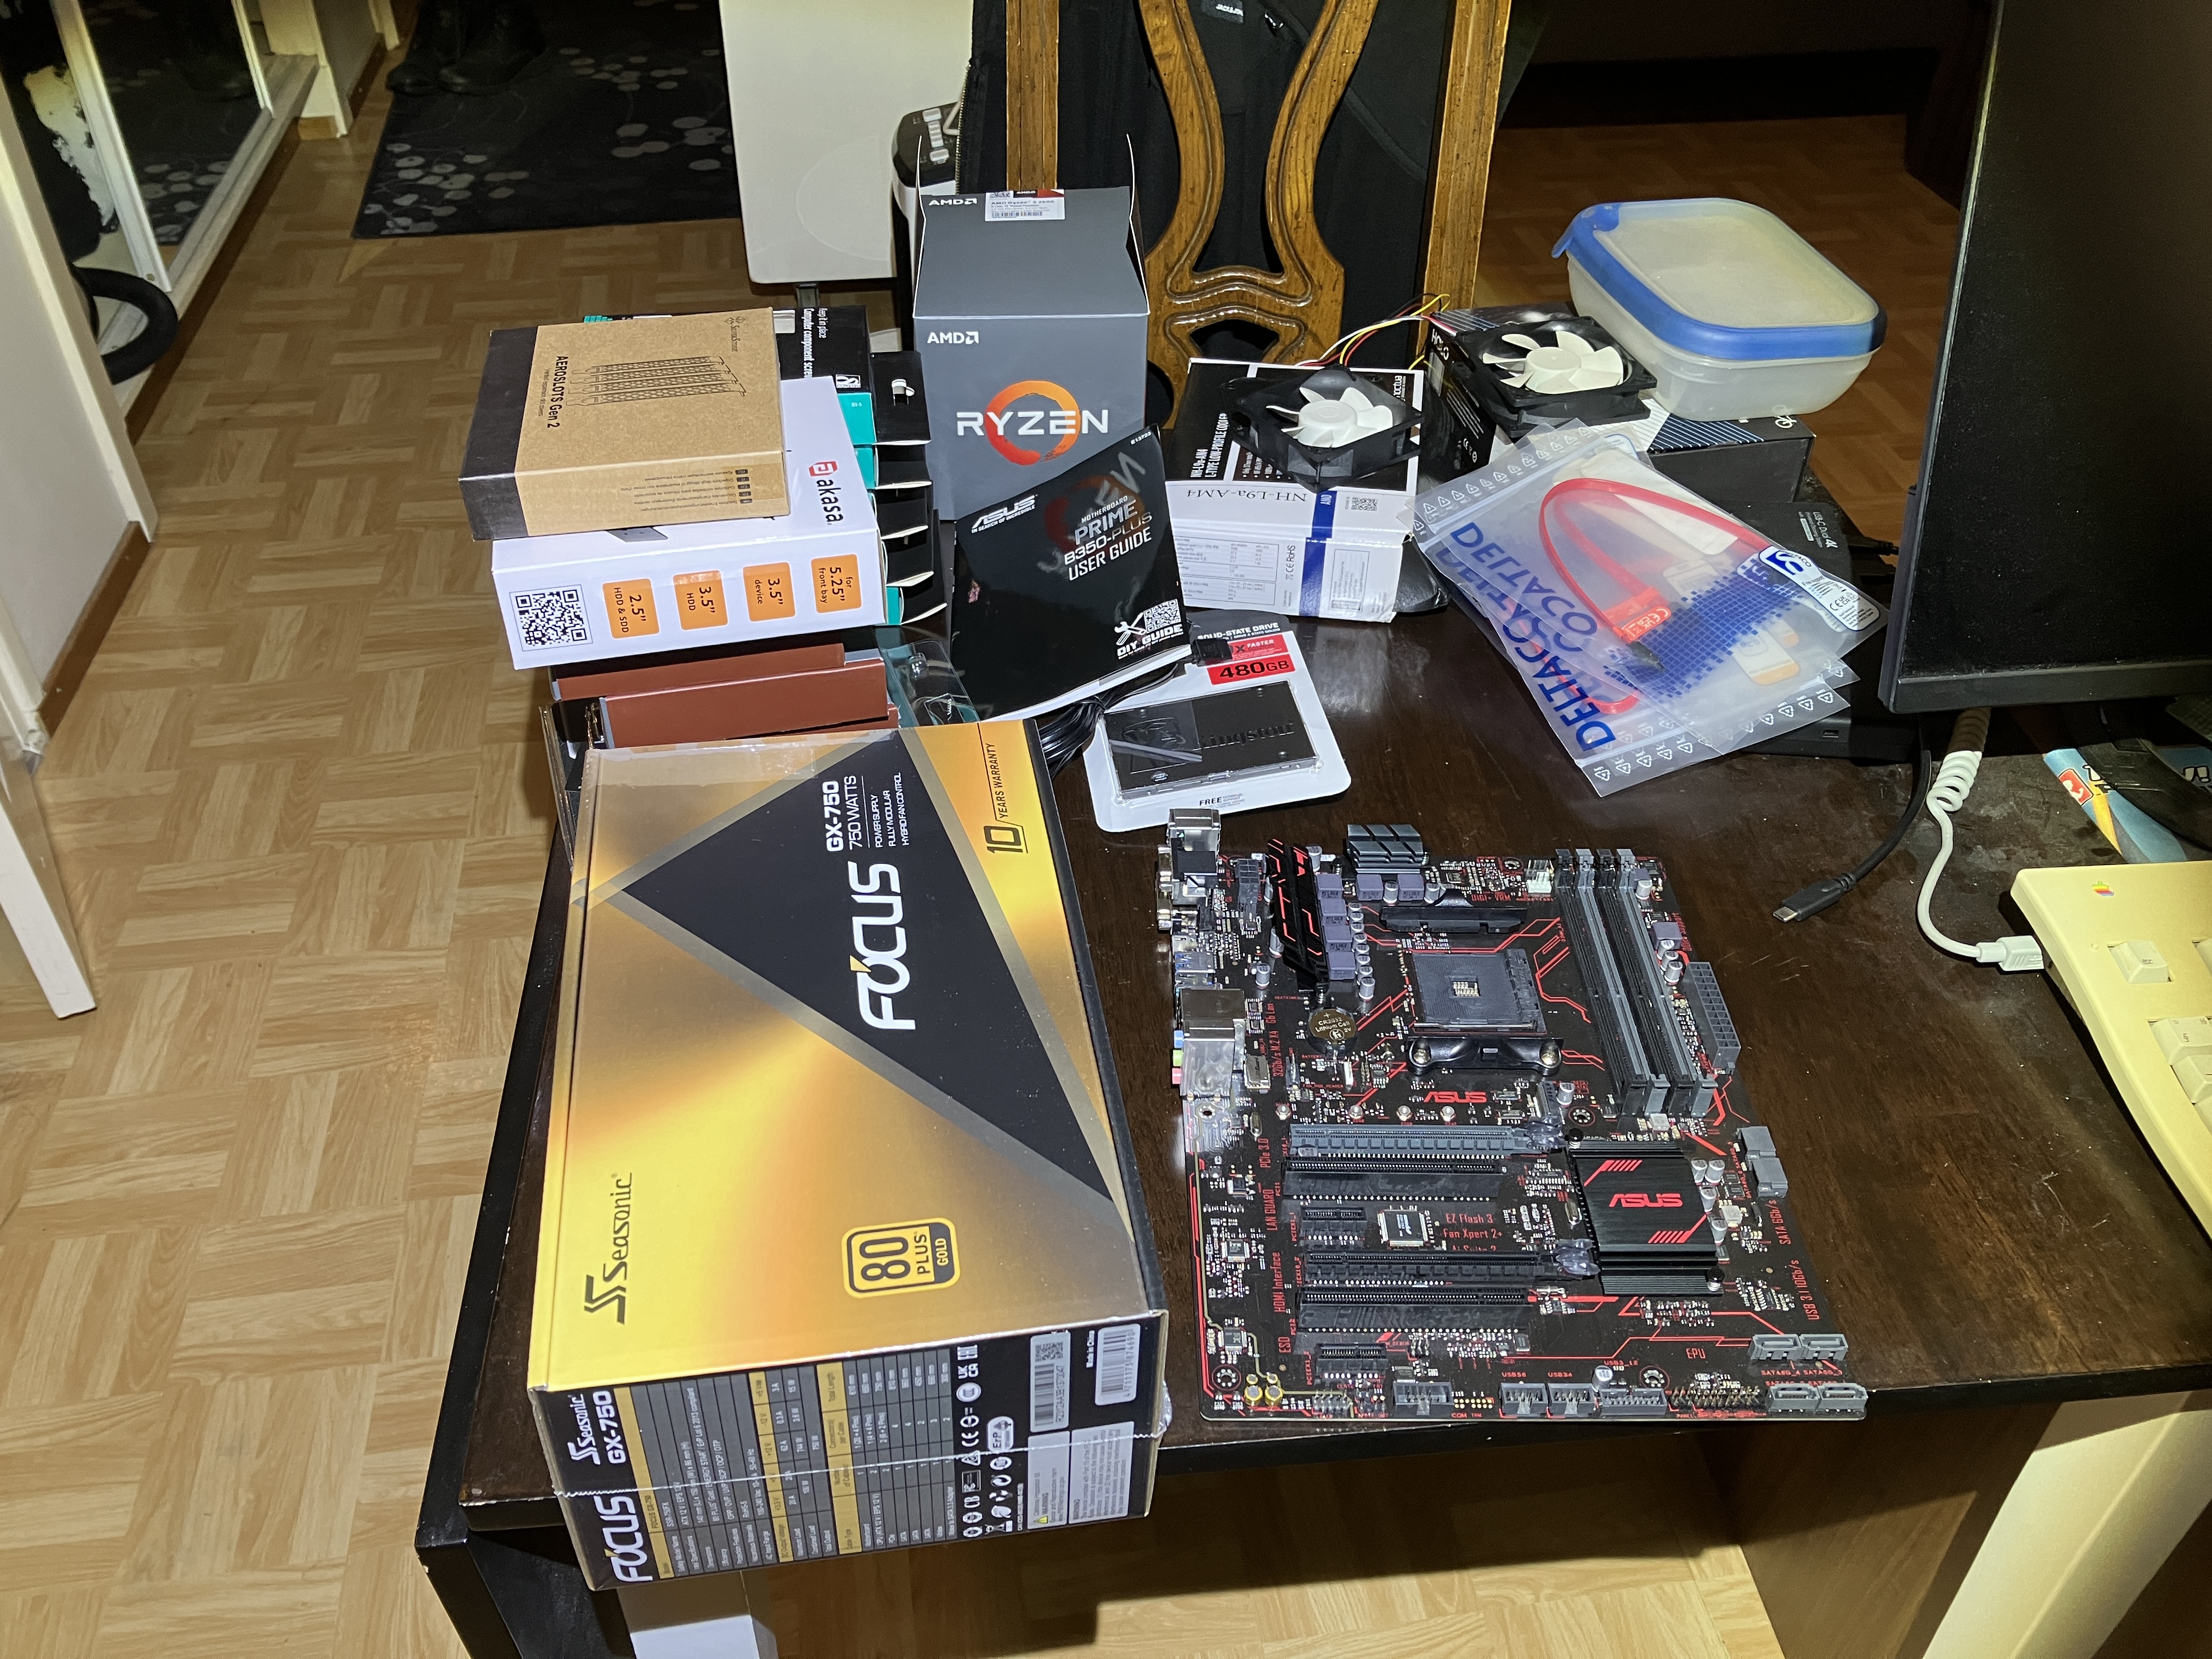
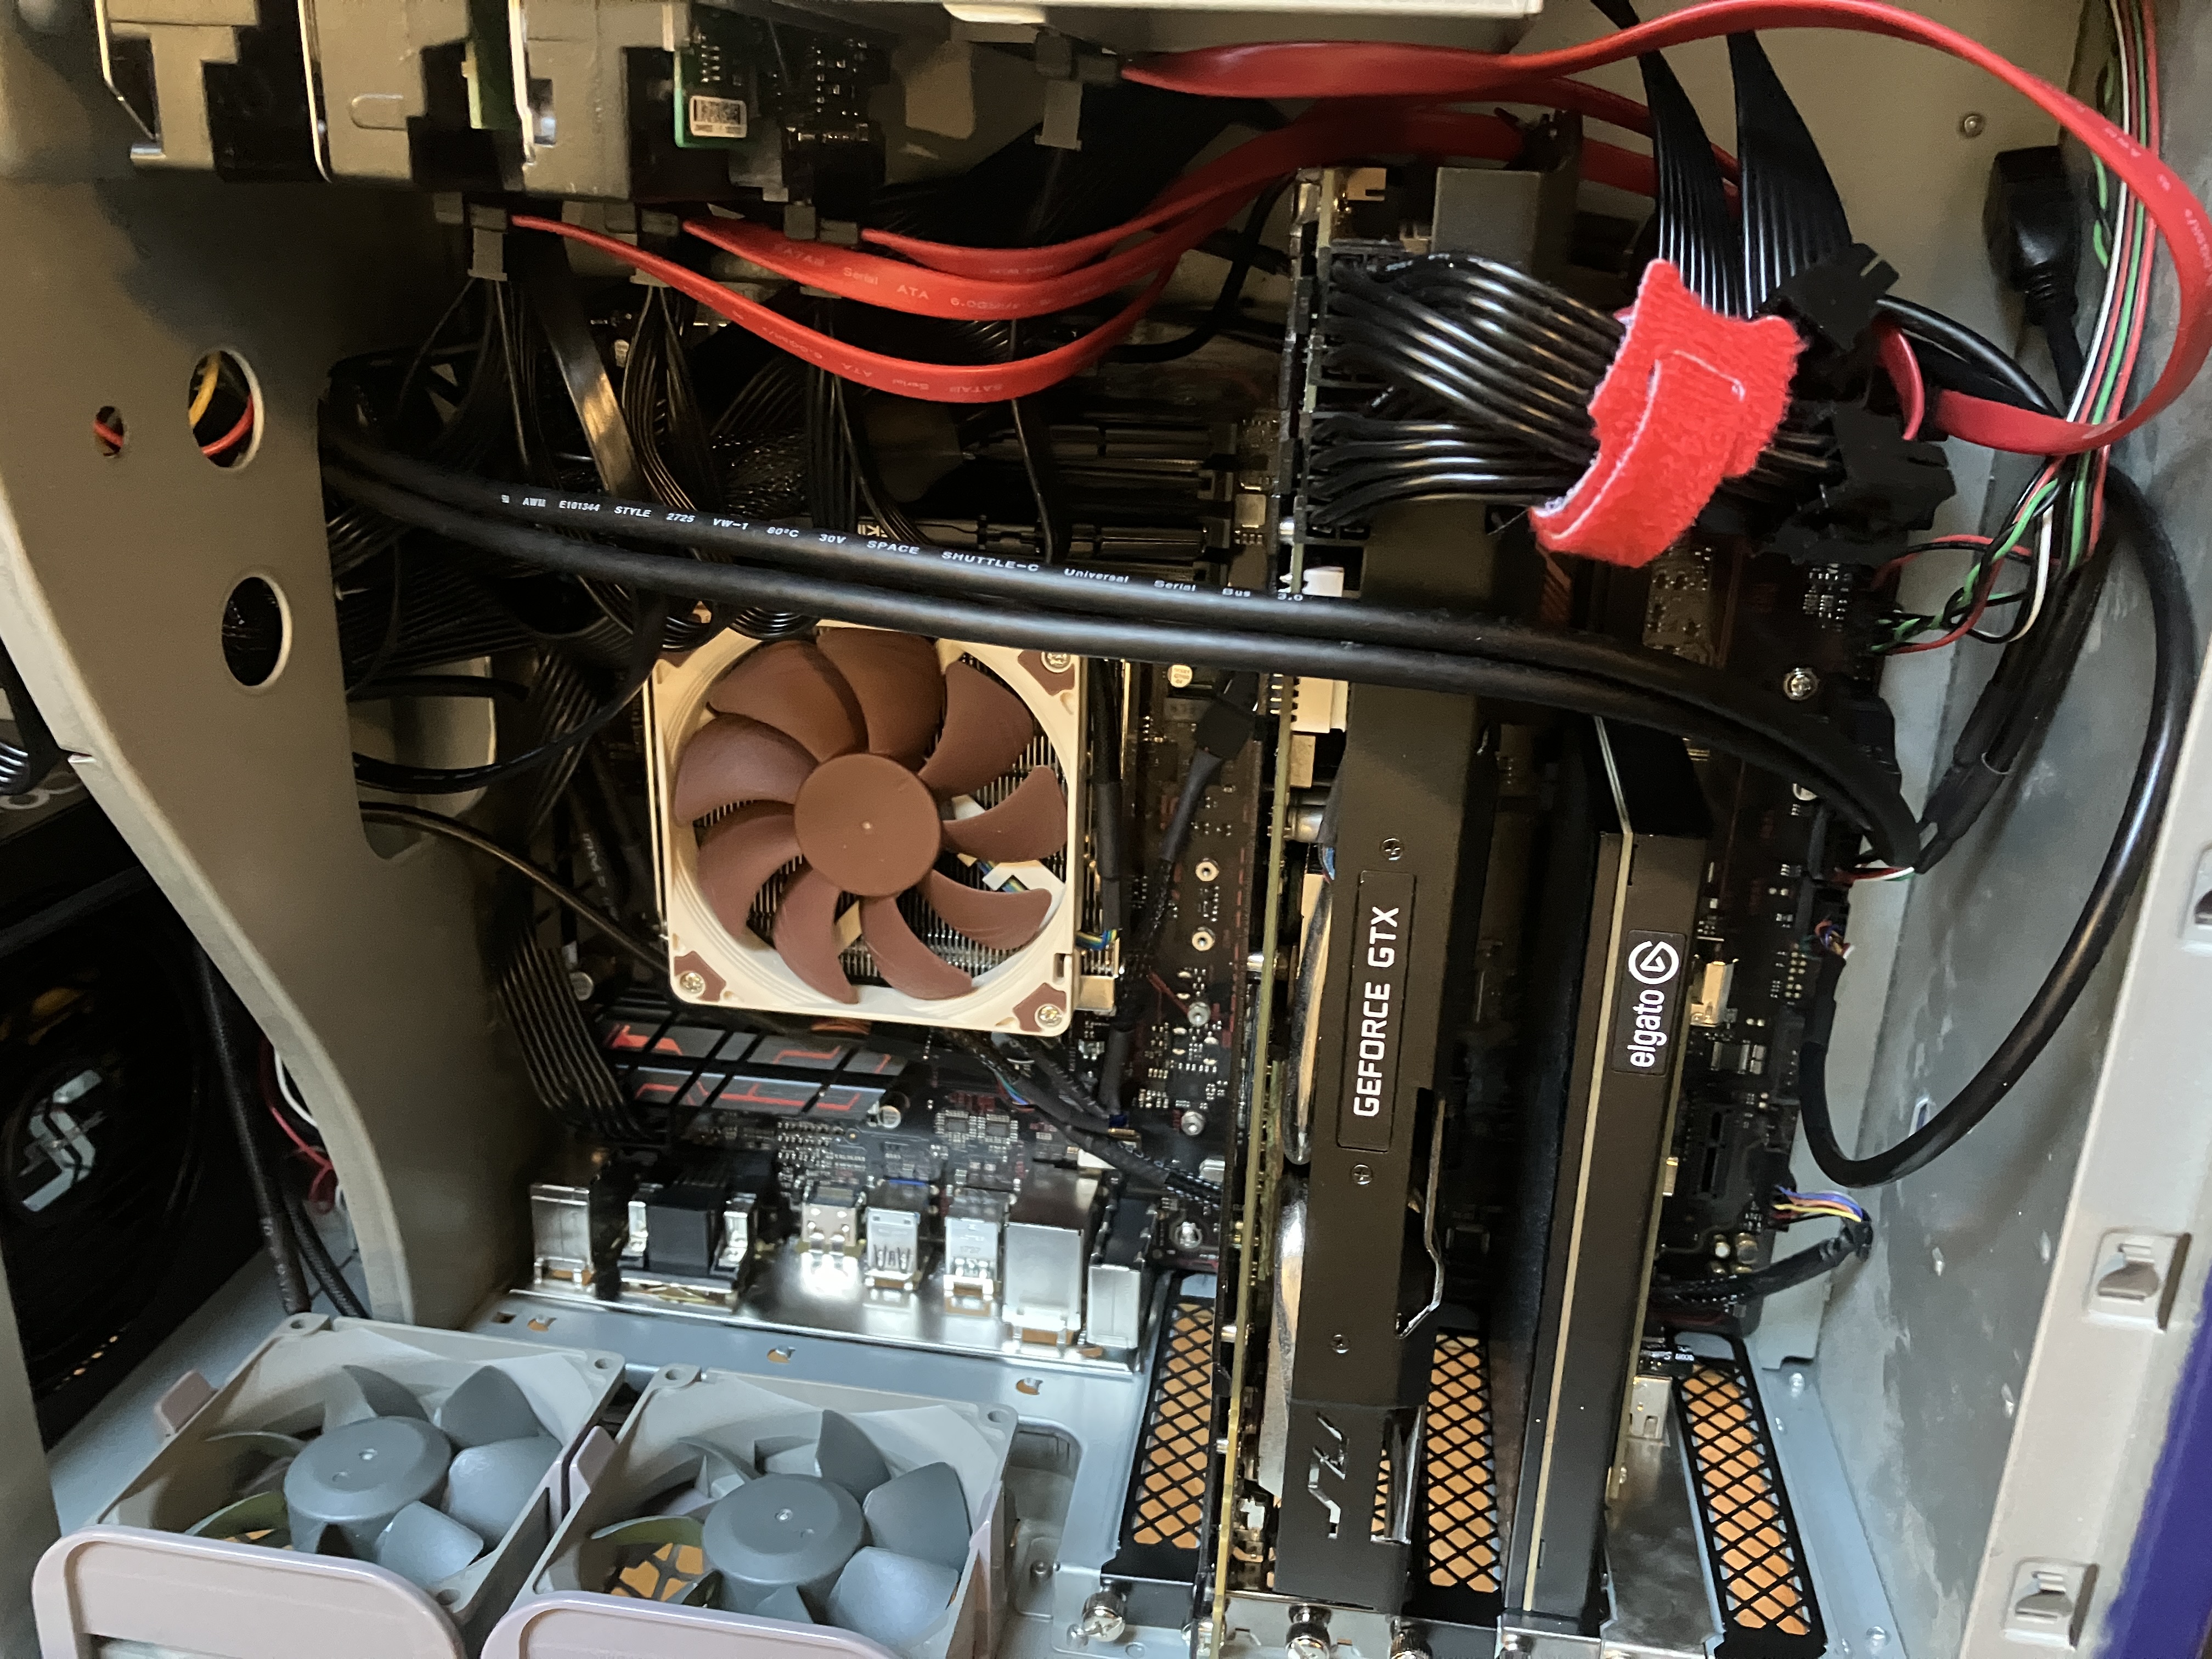
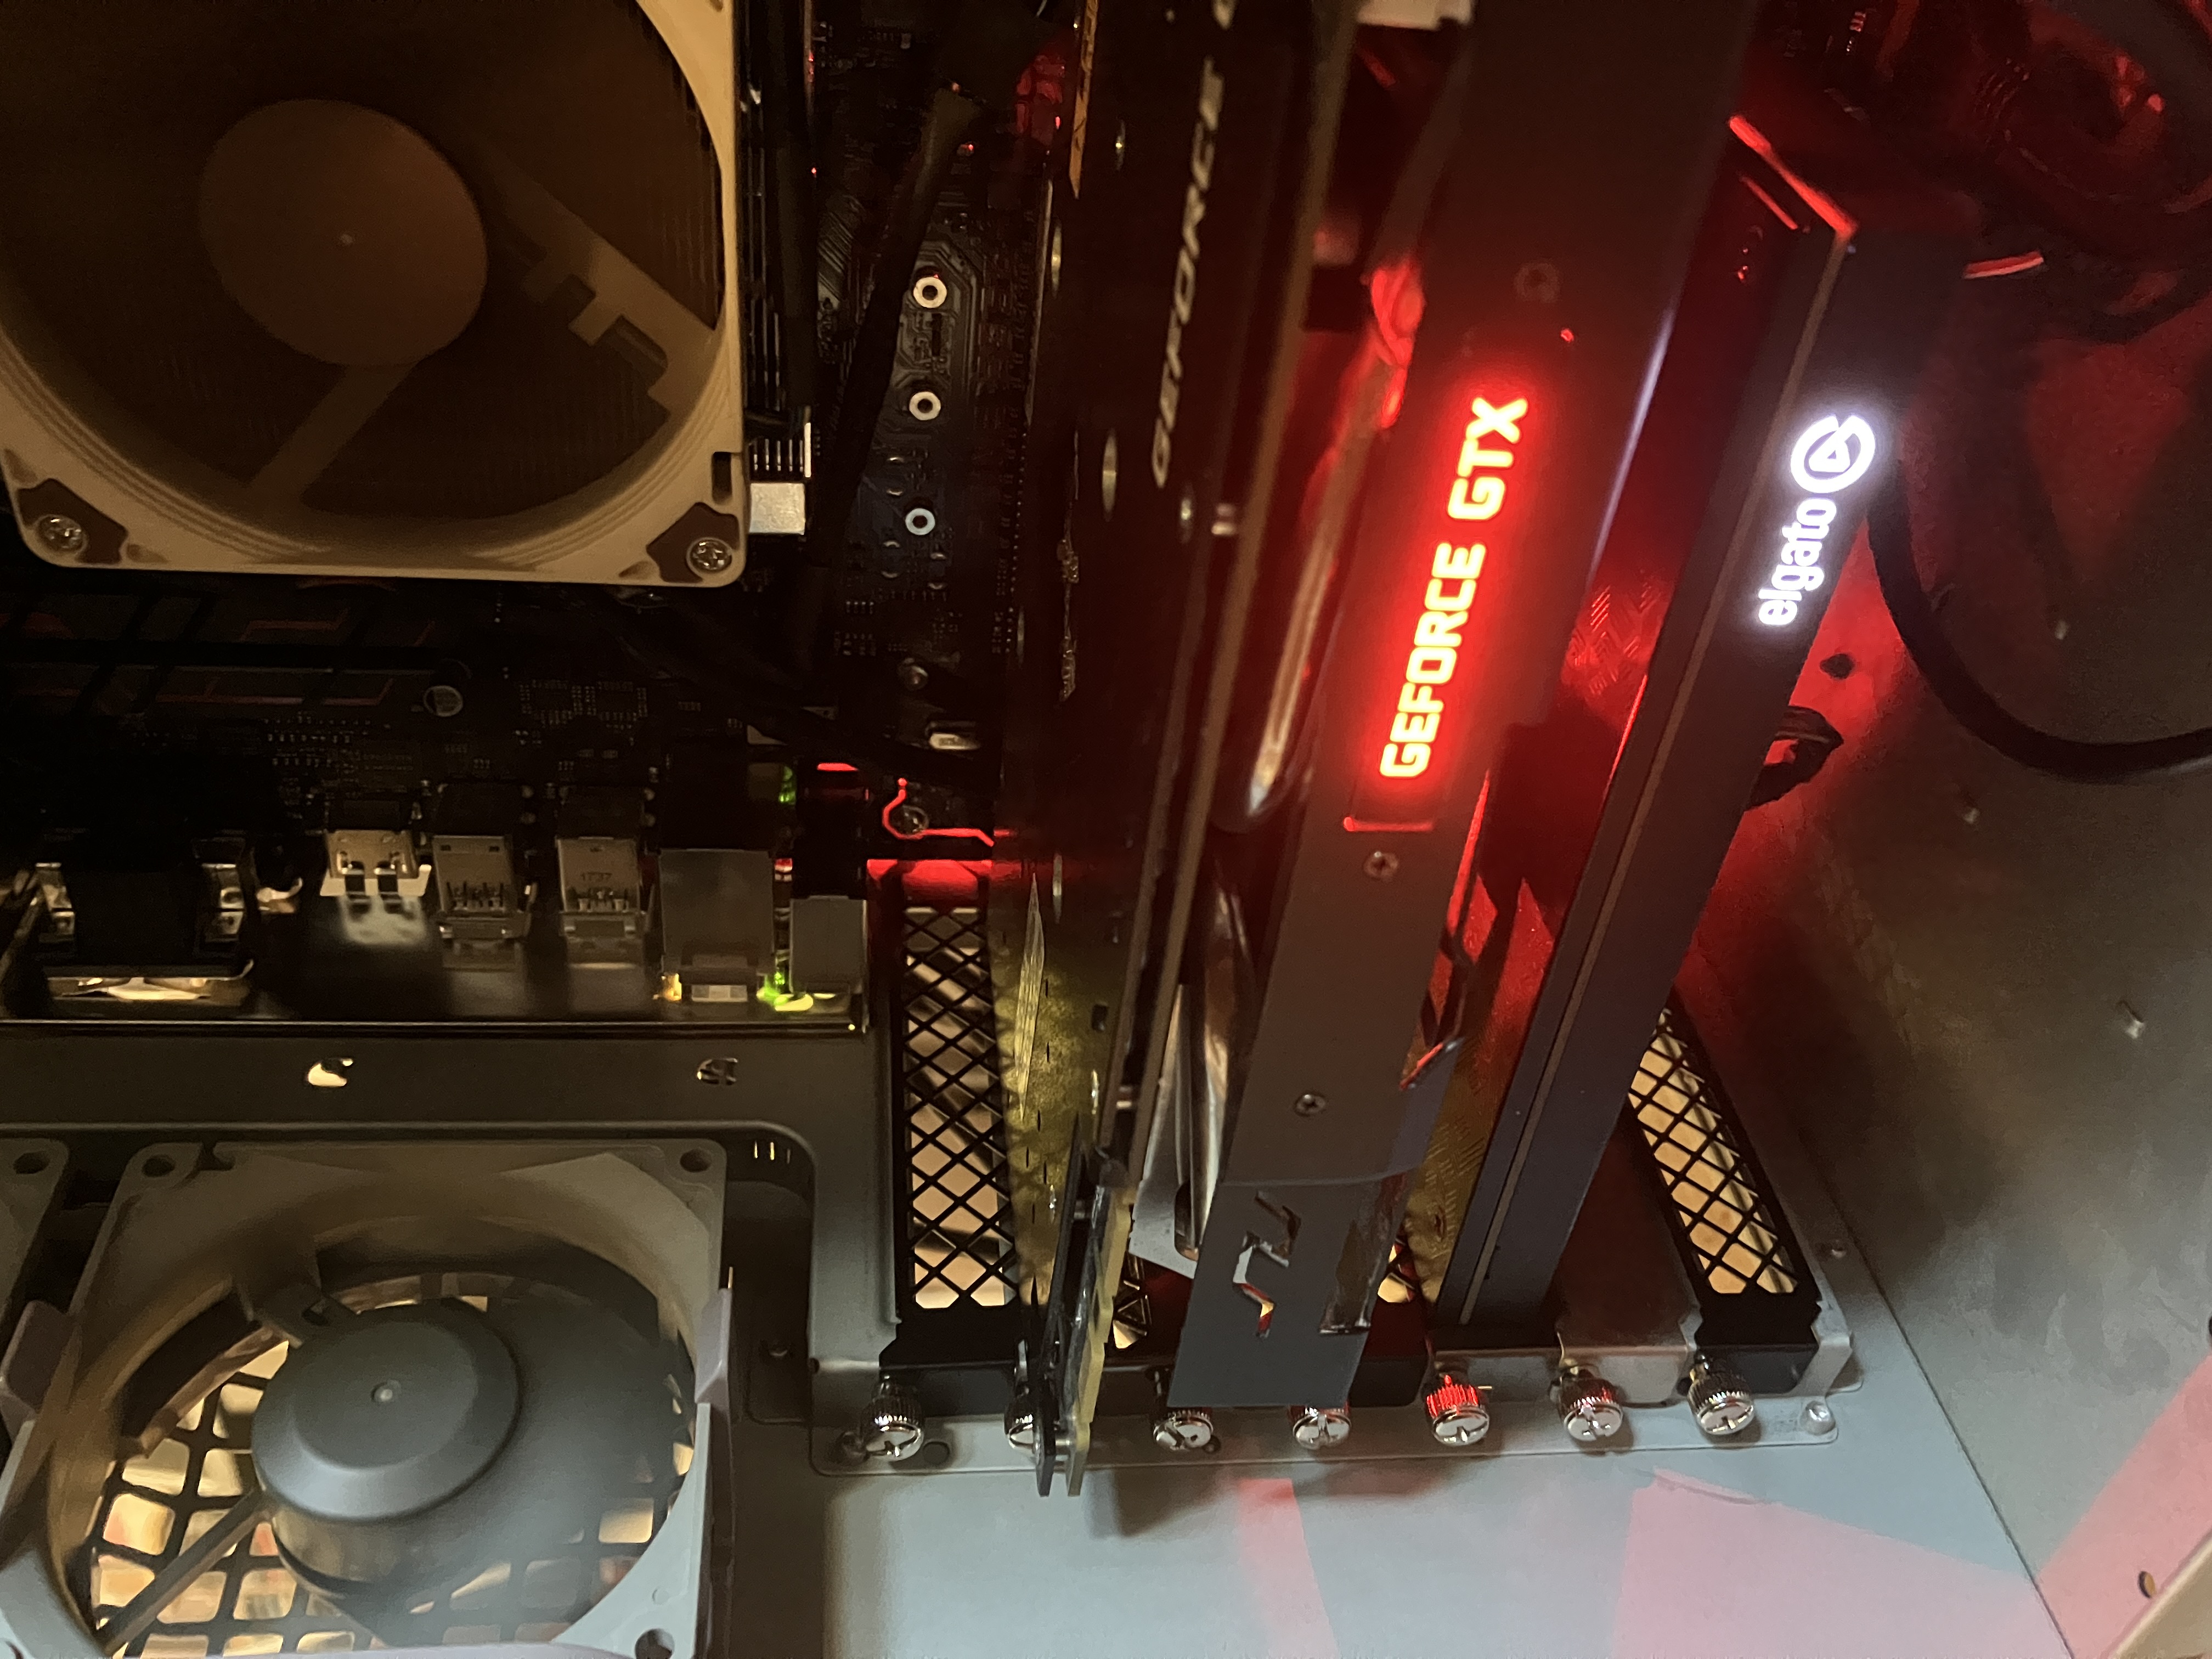
I quickly acquired a used Elgato 4k60 Pro for the HDMI capture part. I also had the leftover CPU and GPU (AMD Ryzen 5 2600 and KFA2 GeForce GTX 1070 Ti EX, respectively) from the first mini-ITX build I did. However, the Shitbox server was also used to digitize Hi-8 tapes, and that happens via a DataVideo DAC-200 over FireWire, so I had to carry the old PCI FireWire card over from the existing iteration of the Shitbox server. This narrowed the platform options to any AM4 mobo that had a PCI slot. I soon found a used ASUS Prime B350-PLUS on eBay.
Given that the Chieftec Dragon is 24 years old, I knew that I needed some help to bring it up to modern snuff:
Given that the Chieftec Dragon is ridiculously awesome, I knew I wanted some other parts to keep up:
There were also some things I wanted to bring over from the existing server build, so I did:
Now, I just needed to acquire a boot drive, a PSU, a set of RAM, and any accessories needed to complete the build. I knew the boot drive needed to be a SATA SSD, because using the M.2 slot would disable too many SATA headers on the motherboard for me to be able to cram the 5 other SATA devices (besides the boot drive) in. In the end, I went with a cheap Kingston A400 480 GB drive. The PSU ended up being a Seasonic 750 W Focus GX-750 Gold, because that unit was on sale at the local computer parts supplier. For the RAM, I went with the more of the same modules I already had in my main PC and my first PC before that – G.Skill 2 × 8 GB Ripjaws V 3200 MHz, CL16. The modules have become quite inexpensive over the years, and I have never had any issues with them.
So, it was building time.
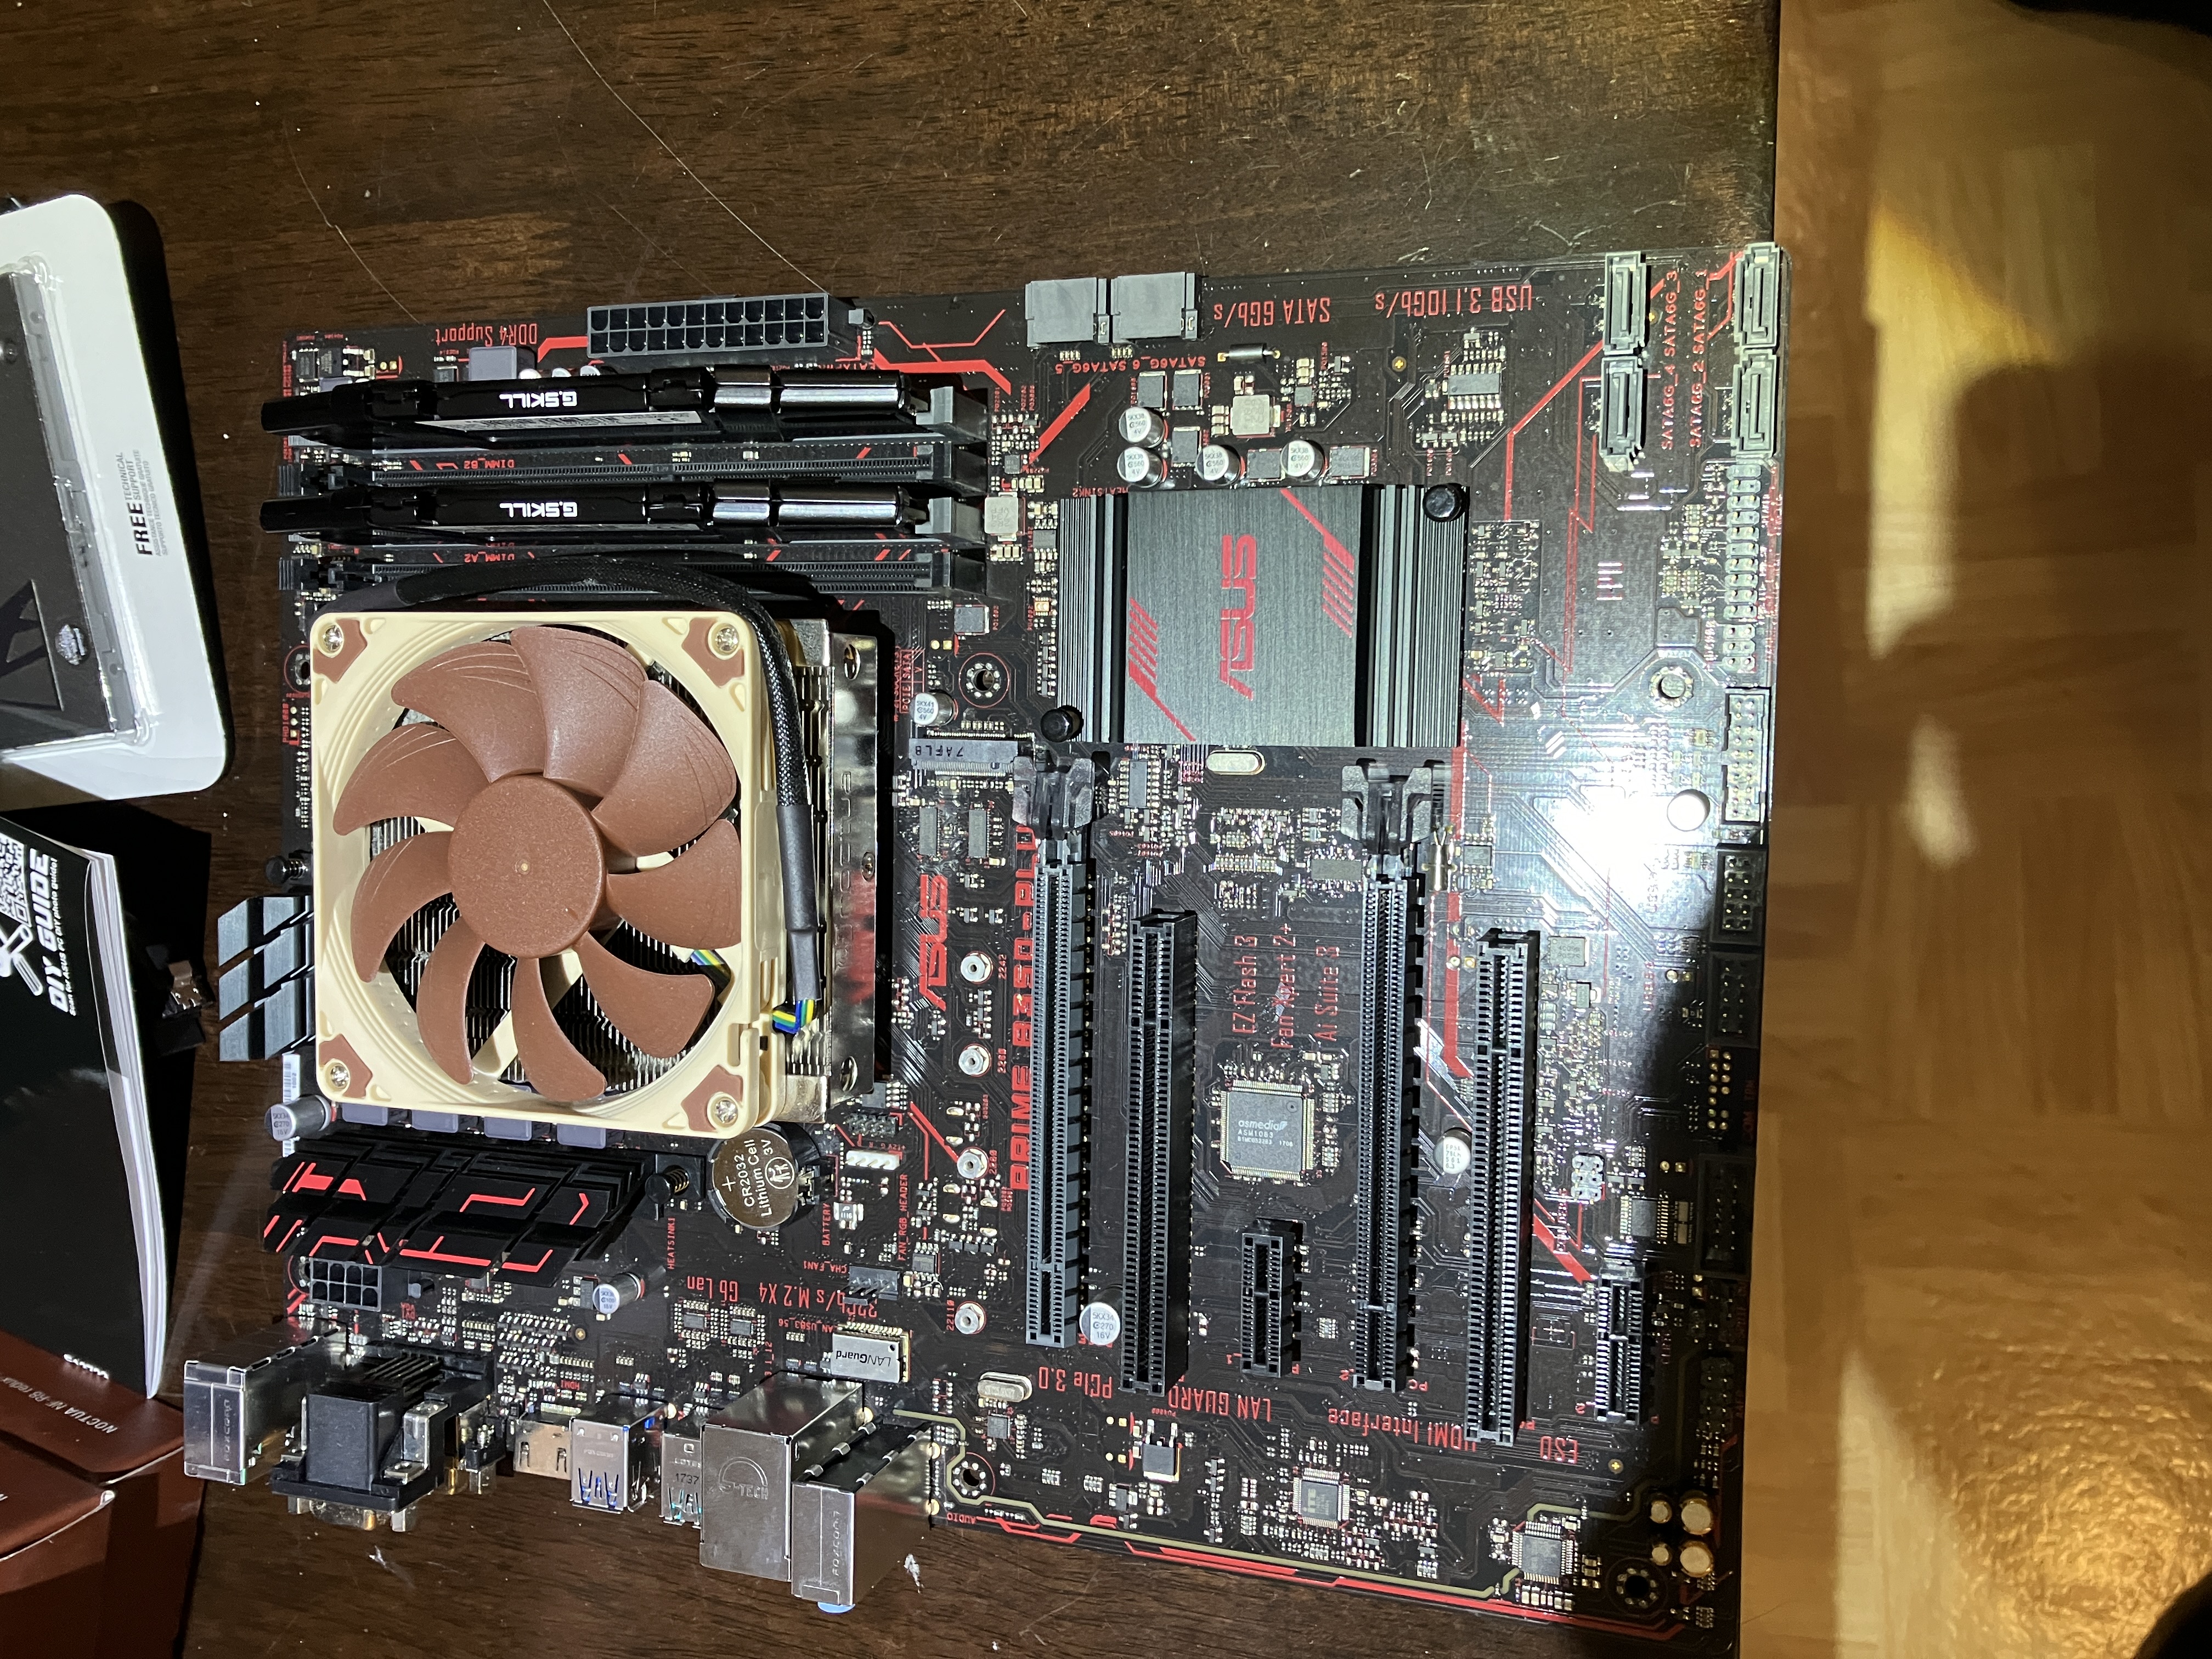
The leftover CPU cooler (Noctua NH-L9a-AM4) made a satisfying little whole with the CPU, motherboard, and RAM:
As I had stated in the upgrade post for my main rig, the GTX 1070 Ti I planned to reuse in this build was just starting to lose one of the fan bearings when I replaced it with an RTX 3080 in my main PC. That meant I had to order replacement fans from Amazon and change them. Here's a picture of that work in progress:
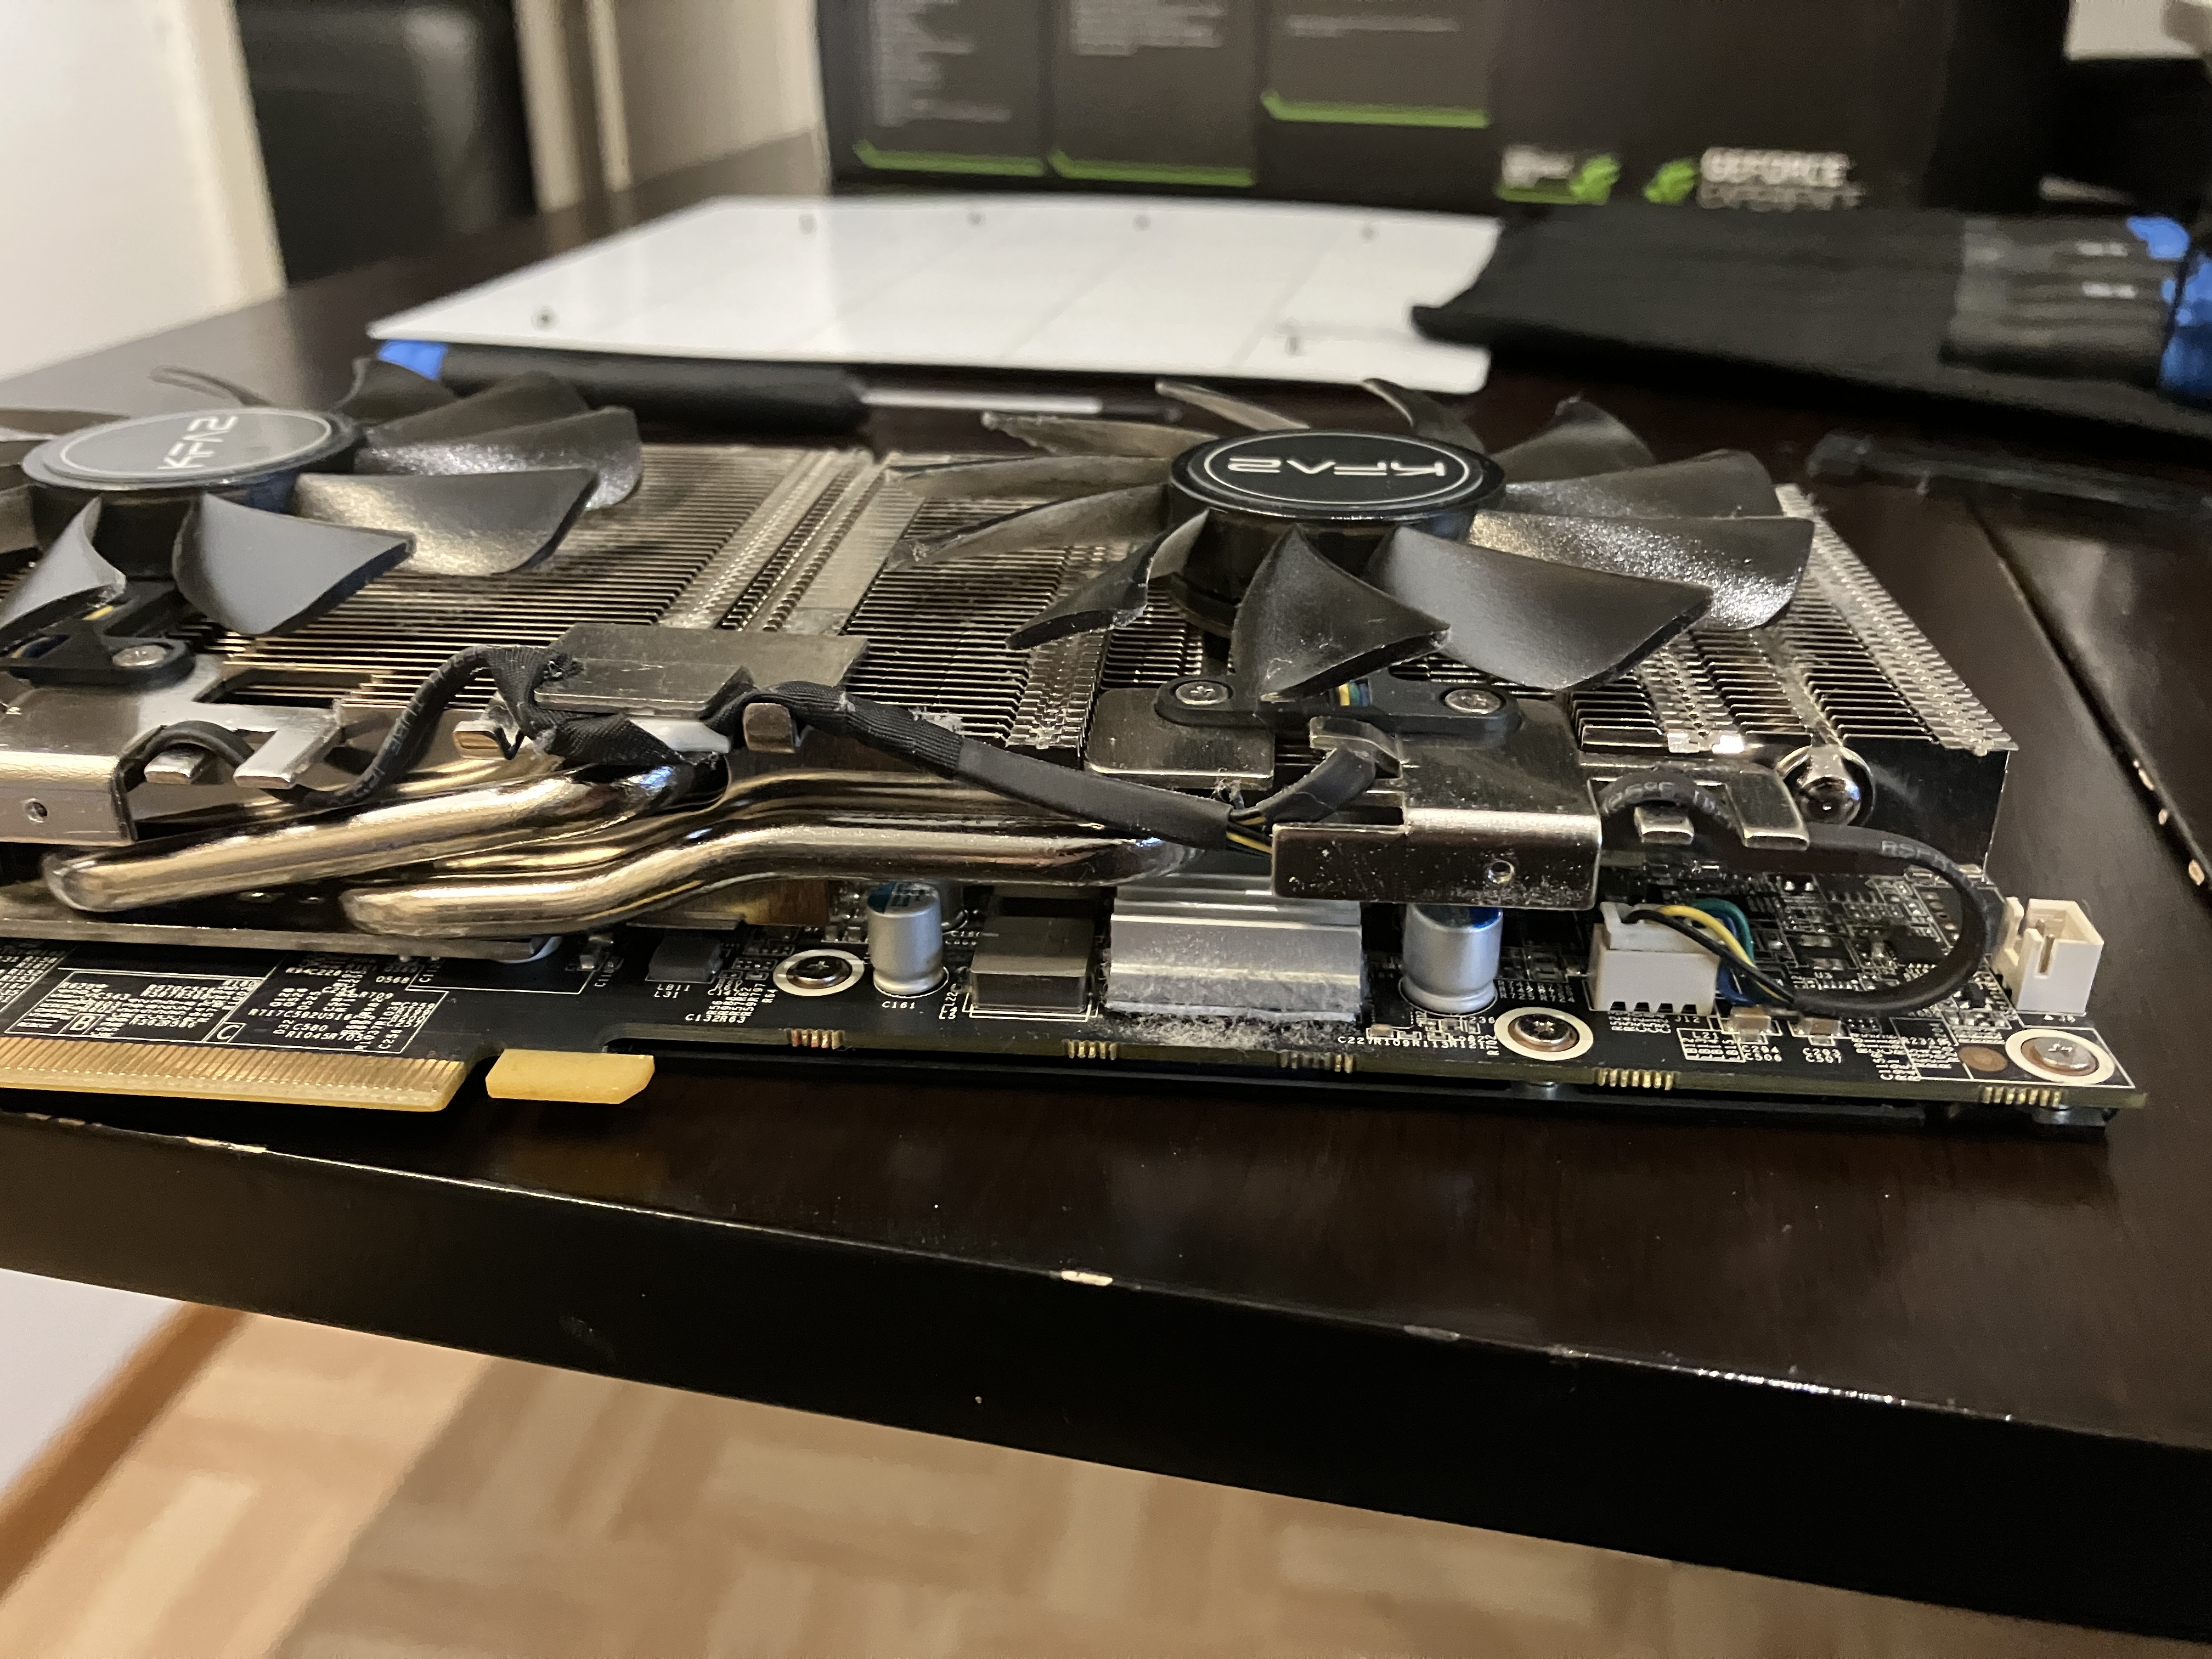
The fan replacement was quite straightforward. I could have also removed the heatsinks and refreshed the thermal paste but decided against that in the end. This build is not for gaming, and all the GPU has to do is to drive the desktop environment and maybe run some NVENC for video capturing.
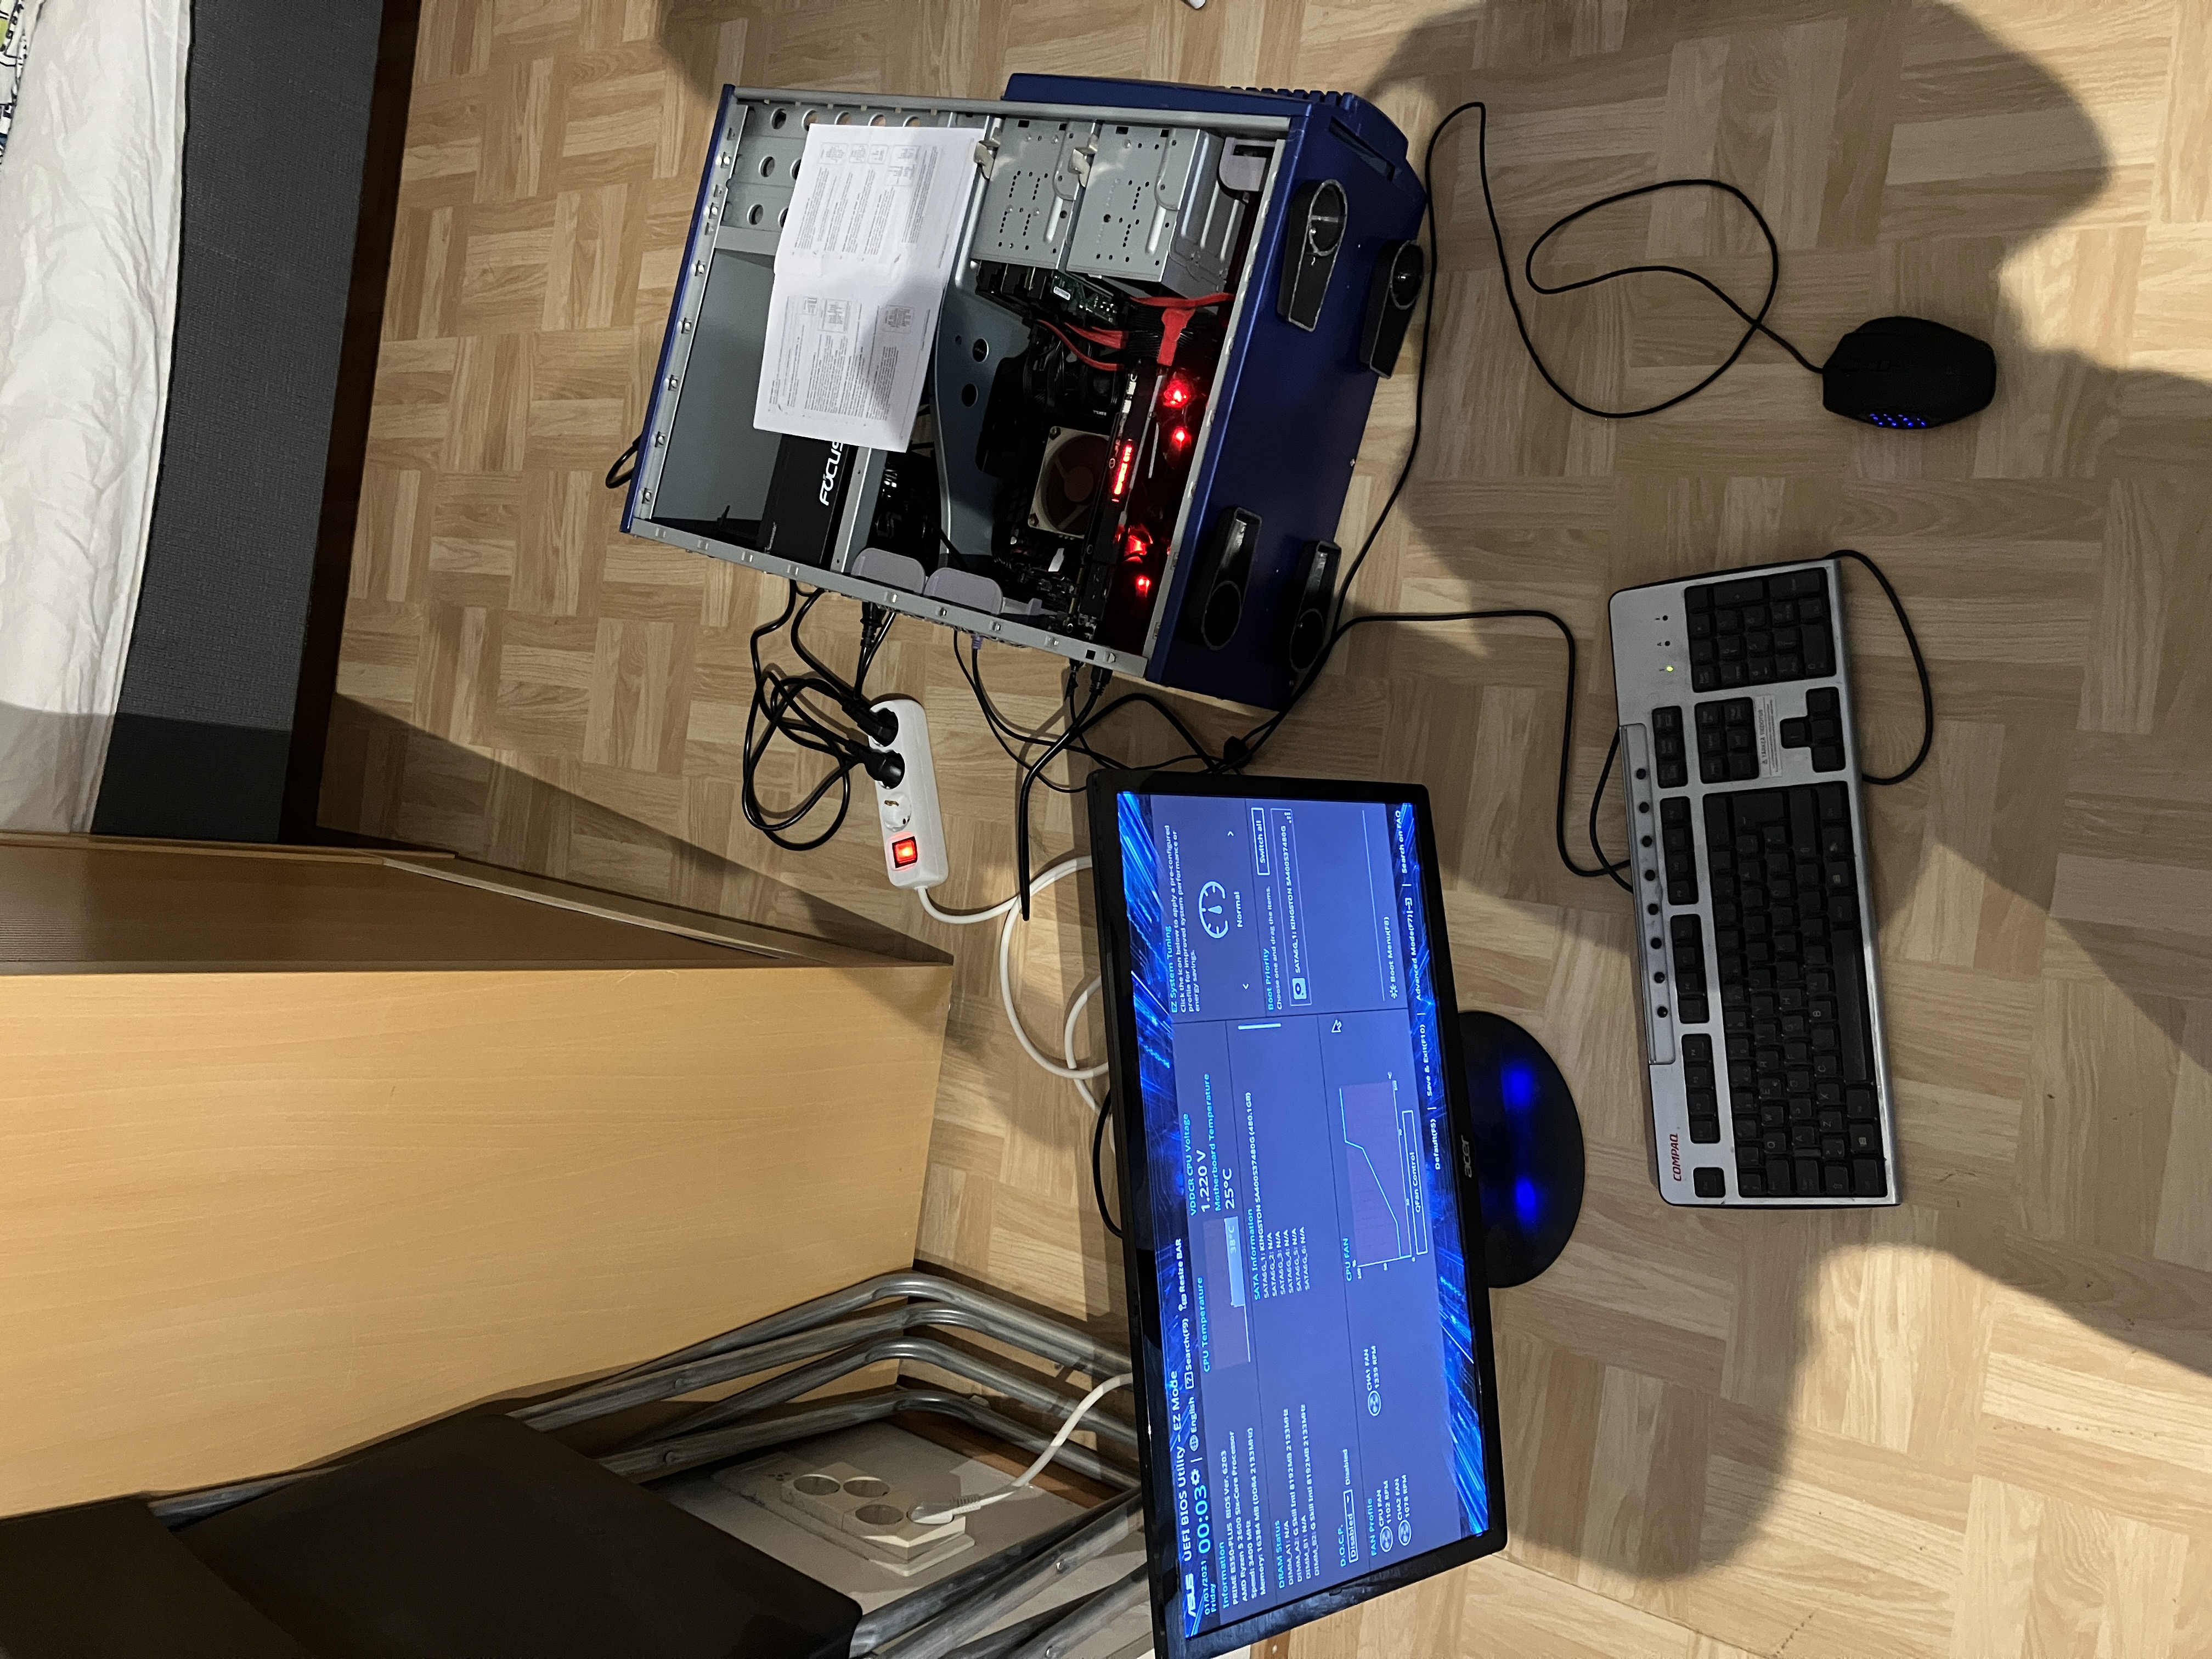
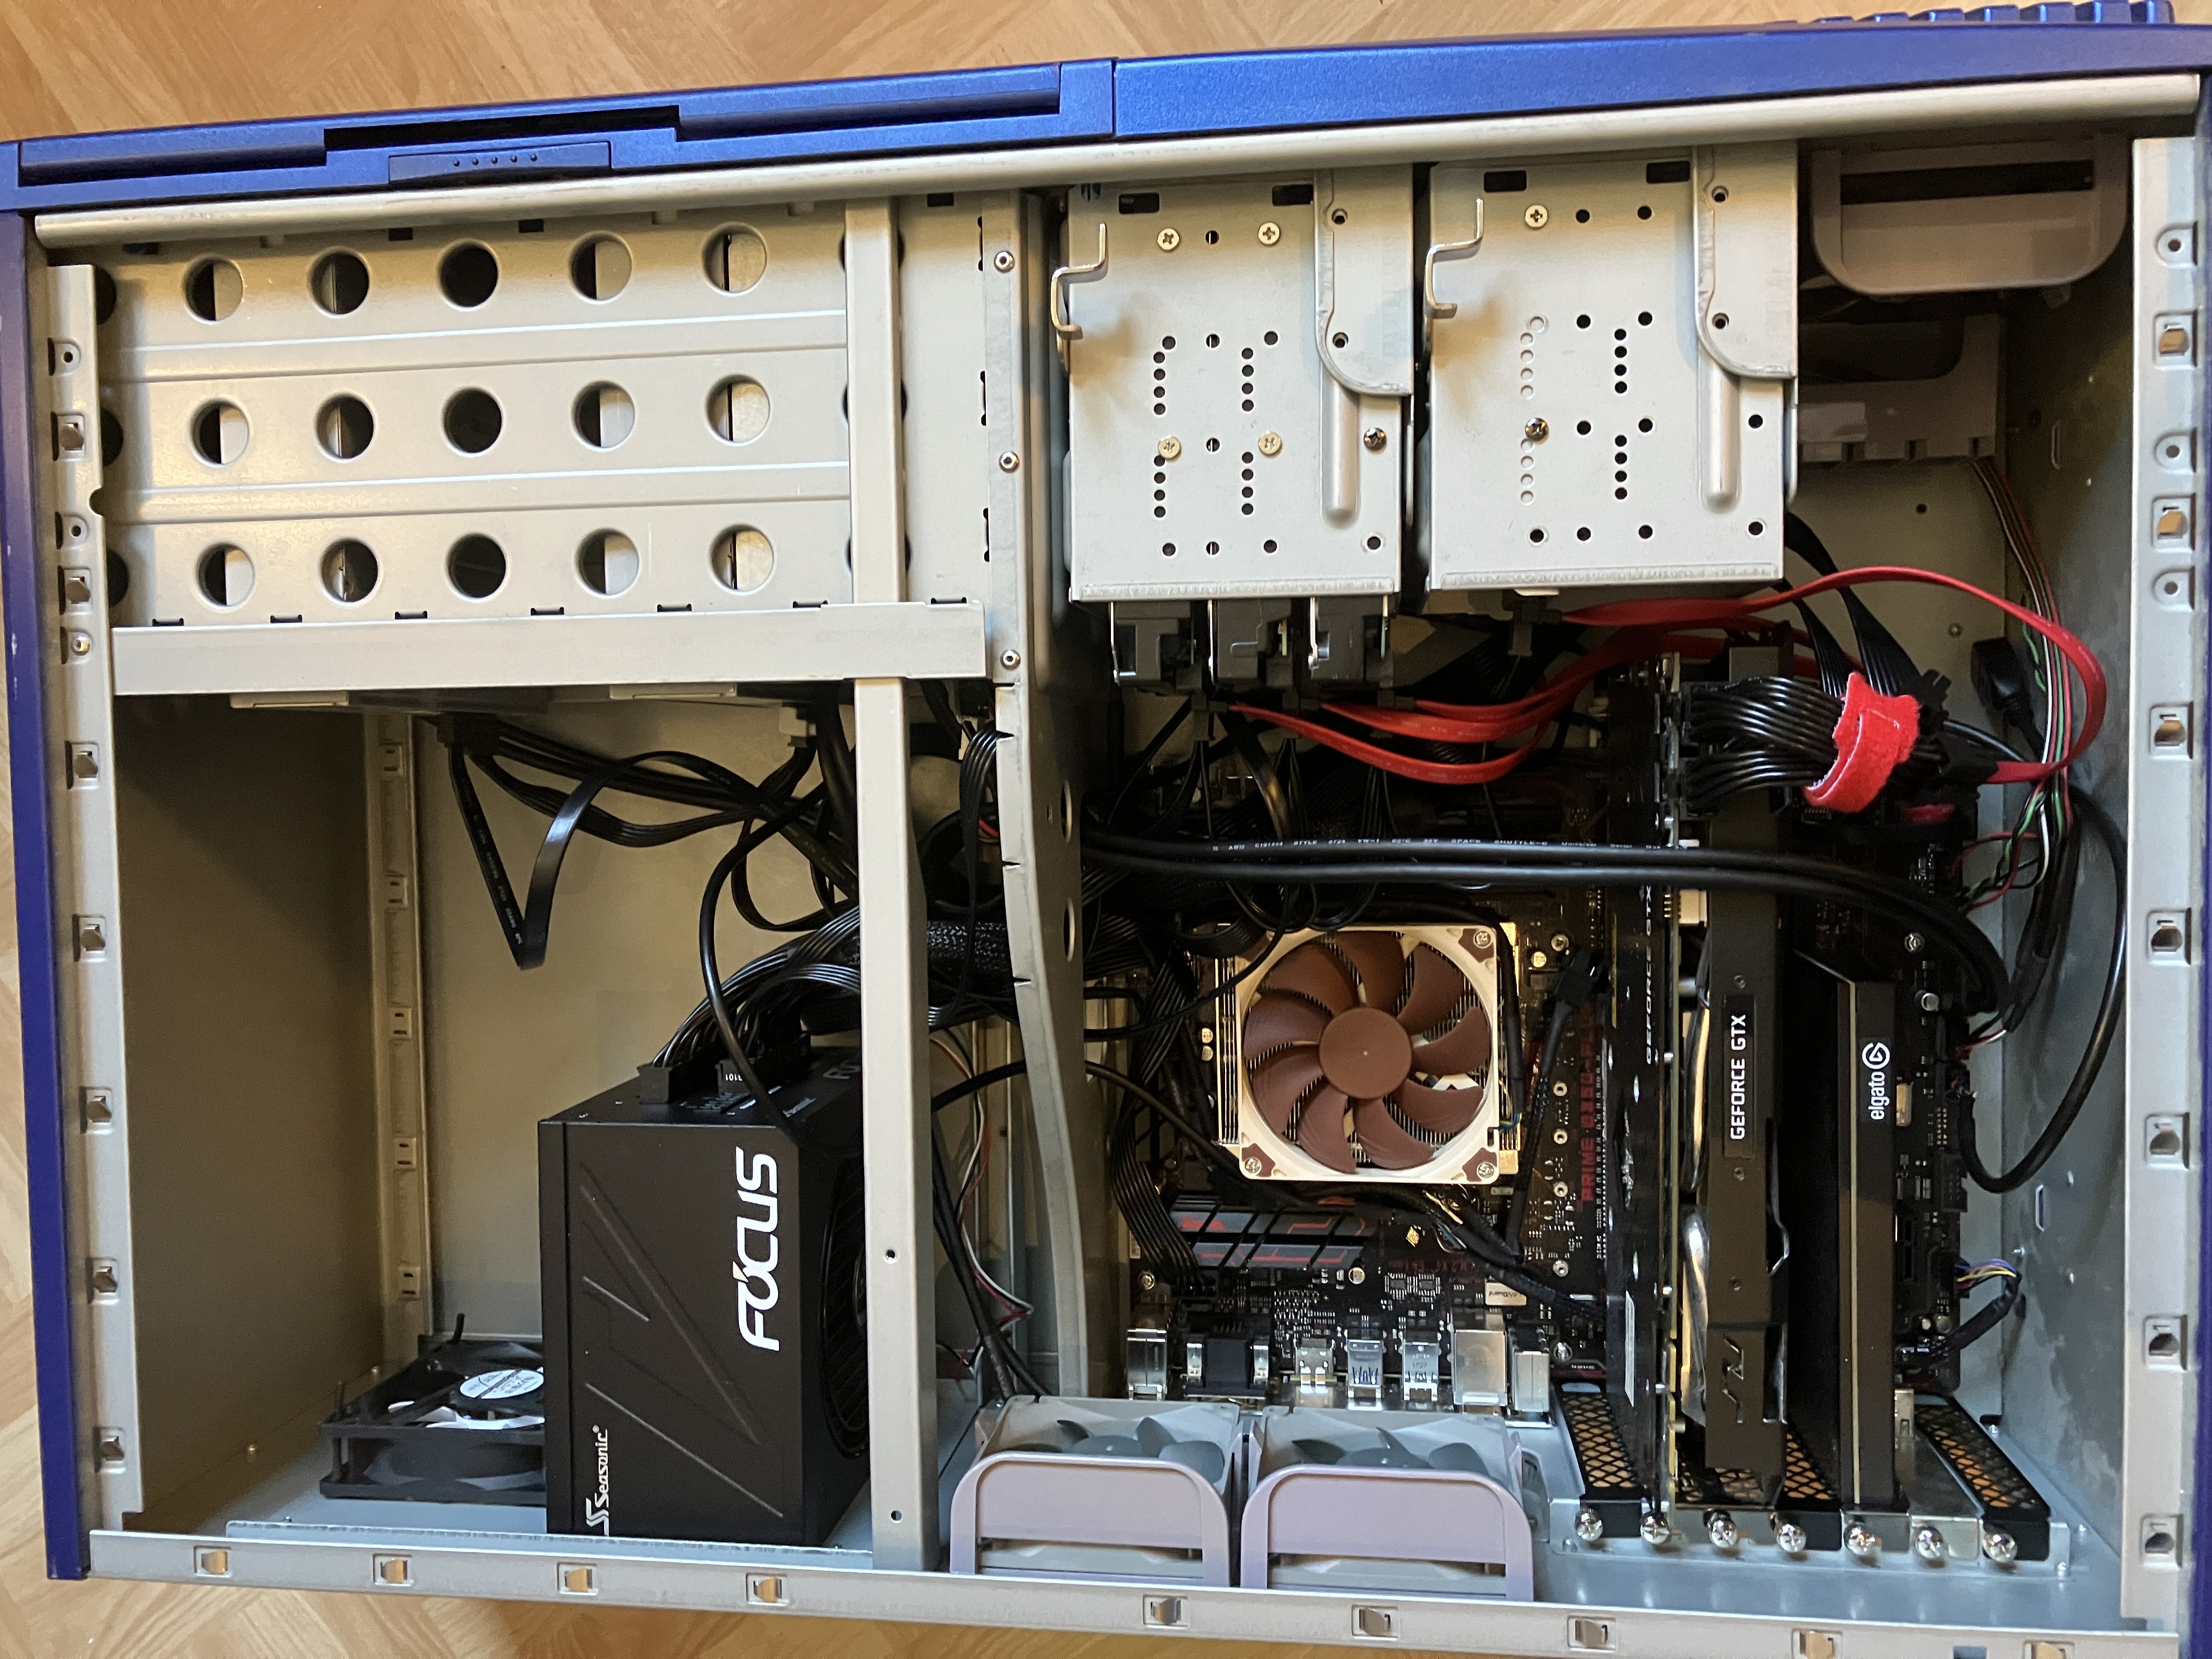
After the essential parts were installed, it was time for a POST test. Sure enough, the PC came straight to life:
At this point, it was time for the main operation: the server had a lot of specific configuration, and I really didn't want to have to redo it. However, the existing install was a legacy MBR install on an MSATA drive that I couldn't plug into this PC. Luckily, I had had the foresight to take a bootable image backup of the boot drive before tearing down the existing build, so I just restored the image on the new boot drive. Even though almost all hardware underneath the install had changed, the old install booted on the first attempt. I was genuinely impressed by this.
However, the install was still a legacy MBR install, and secure boot (which is a Windows 11 prerequisite) requires GPT. Luckily, Windows comes with a tool called mbr2gpt to migrate legacy installs to GPT. So, I plugged in my Windows 10 installation pen drive, booted into it and dropped into the command prompt. The first attempt in conversion failed and managed to destroy the bootloader altogether. However, with some guidance from the internet, I was able to recreate the bootloader, mount the two partitions correctly, and finally convert the install to GPT. After that, I just extended the C: partition to cover the whole disk (the boot drive capacity was upgraded from 240 GB to 480 GB), turned on secure boot and fTPM, and finally did an inline update to Windows 11. After all this, the only configuration I had to revisit was to update the Wake-on-LAN shell script I use on my Raspberry Pi to remotely turn on this server with the MAC address of the updated hardware. Everything else stayed operational without any intervention.
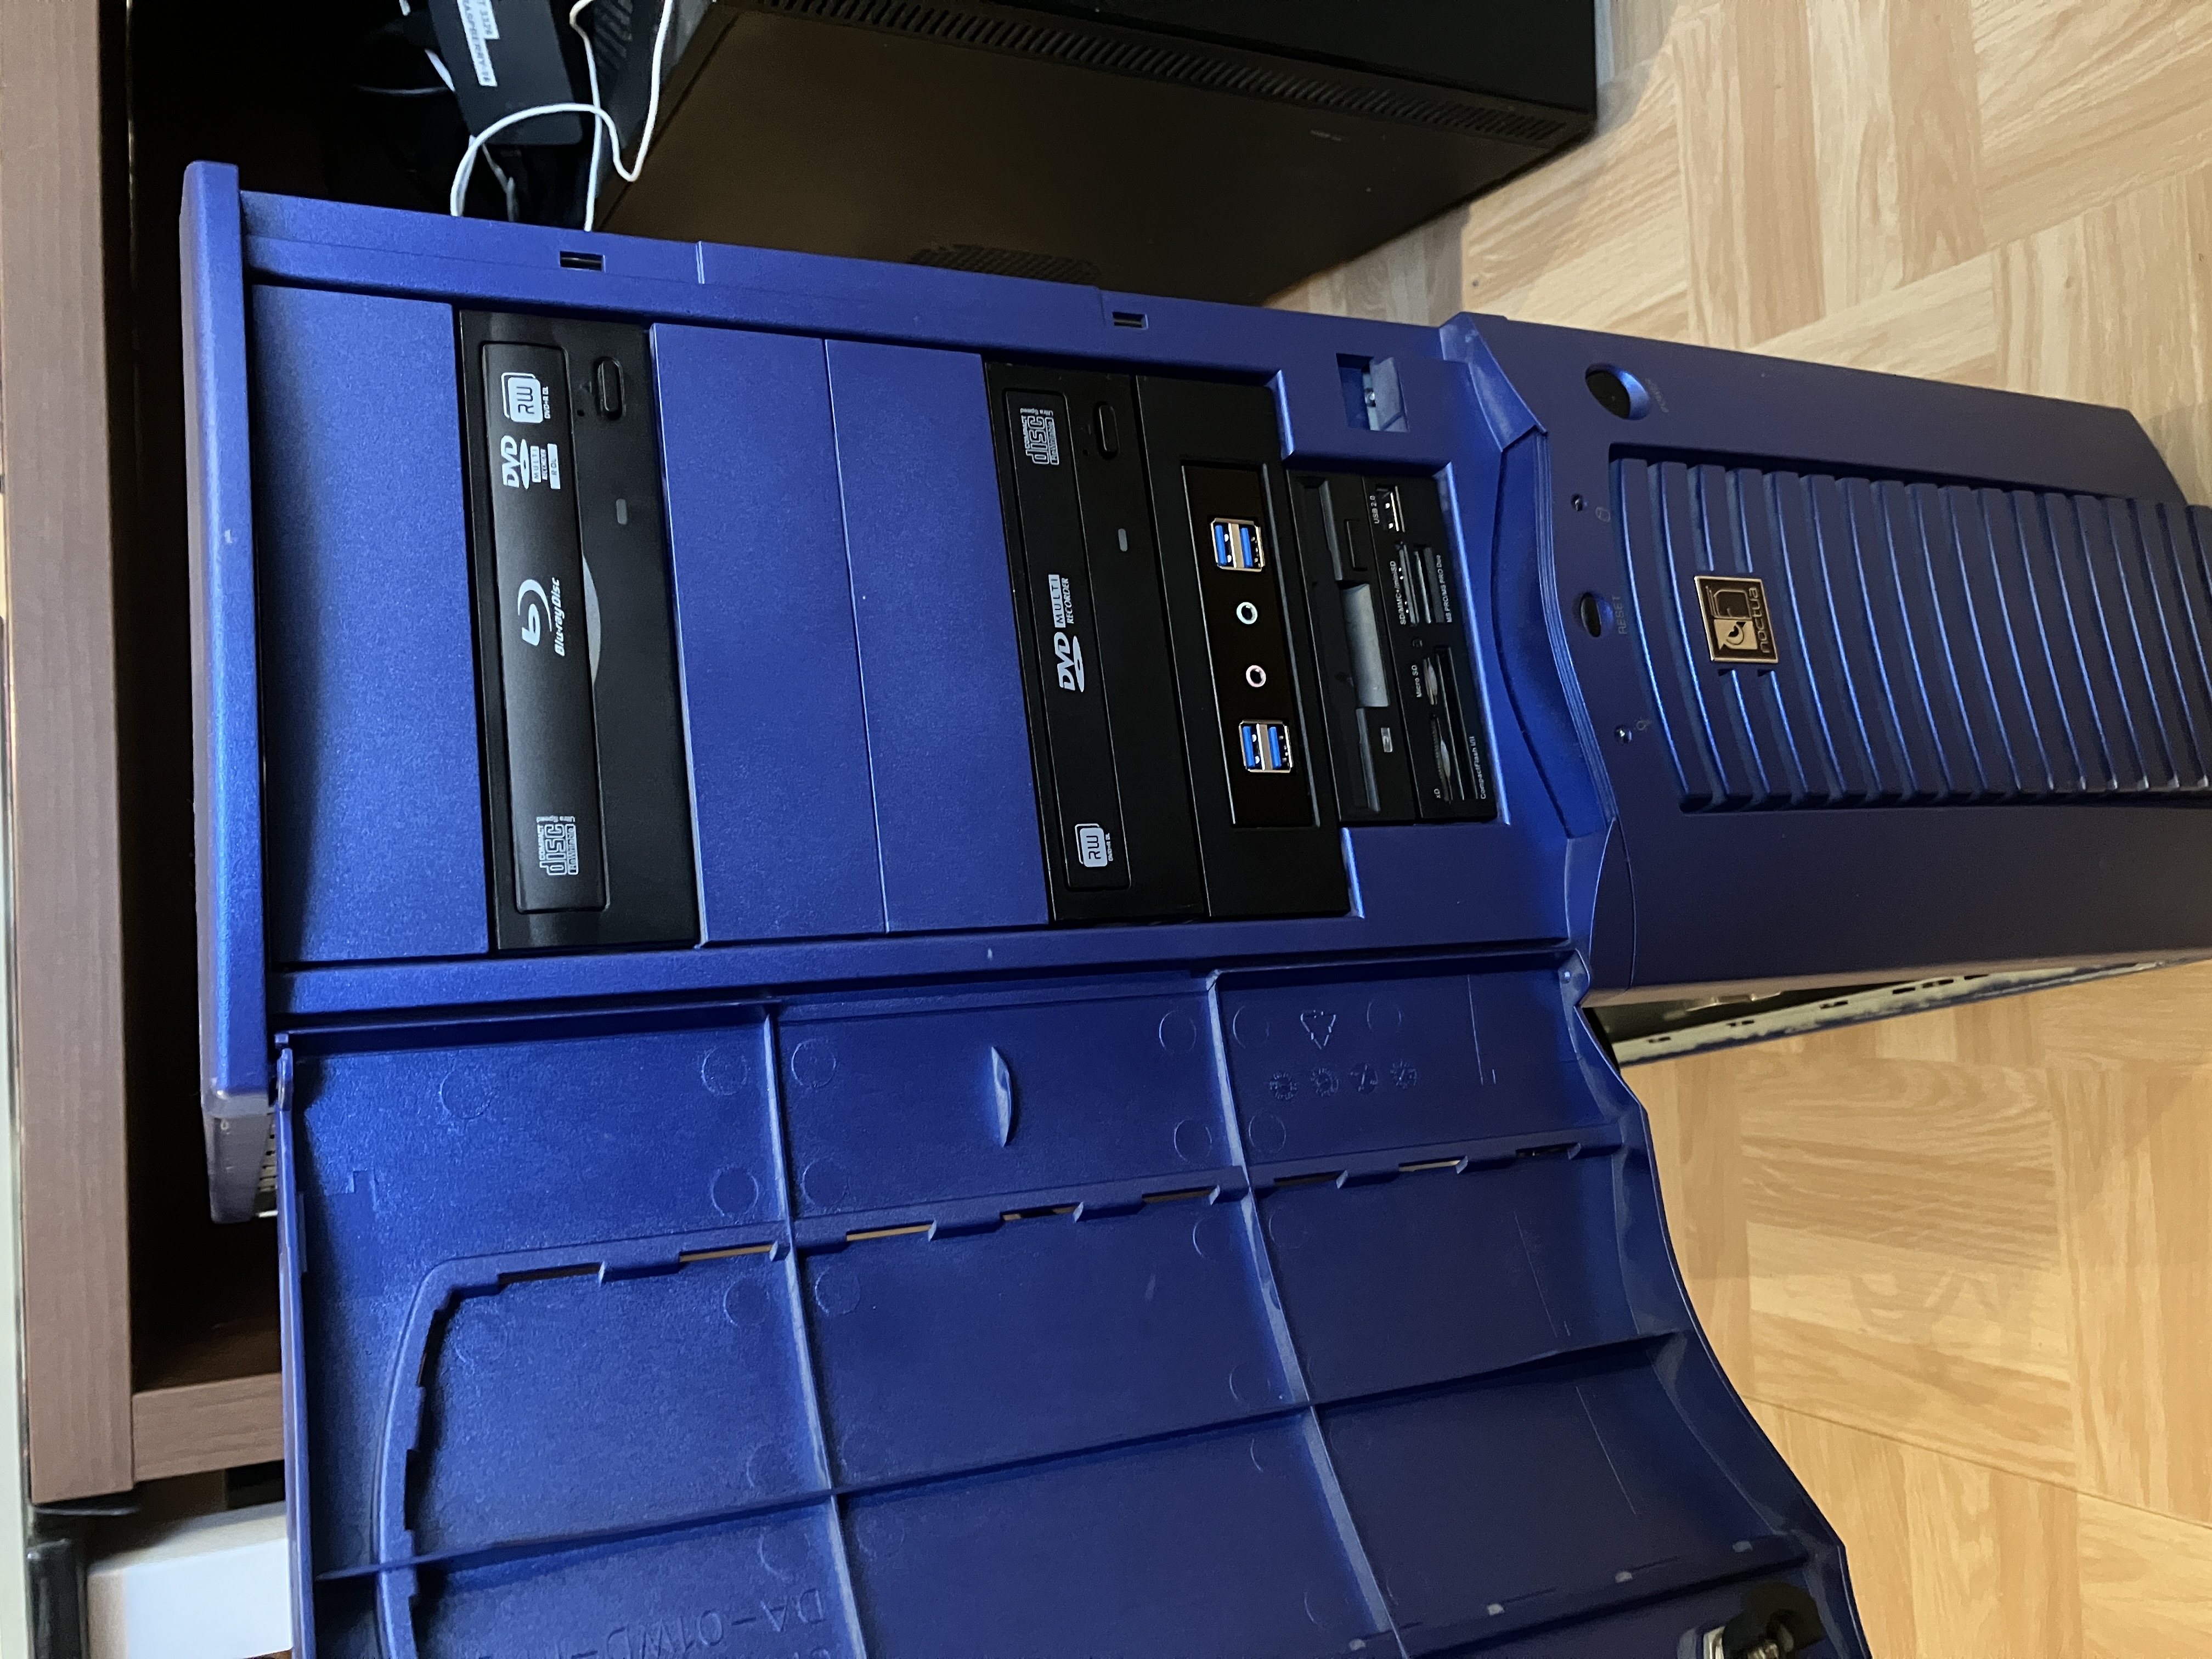
It was time to wrap up the build. However, at this point, I hit a big snag. The Chieftec case had originally come with these rails for mounting 5.25″ devices, and those rails were long gone.
Luckily, I found this Thingiverse 3D model for 3D printing replacements. Now, I don't own a 3D printer, but many libraries in Finland offer 3D printing as a service. Over the course of multiple months (this is the main reason why the build took so long to finish), I was able to go to the library and print 6 of these rails. Now we were getting somewhere.
There was one final issue with the build, and with this issue, I was forced into a compromise: The SilverStone USB front panel thingy has four ports, which equals two internal USB 3.0 cables. The motherboard only has one header. After throwing an amount of money at the issue, I learned the following things:
In the end, I was able to make one of the two USB 3 cables just about reach the header and leave the other one unplugged. Cable management is a lost cause, and only 2 of the 4 ports work, but this is as good as I can do at this point. There are no usable PCI(e) slots or USB headers or SATA headers left on the motherboard. Literally everything is in use.
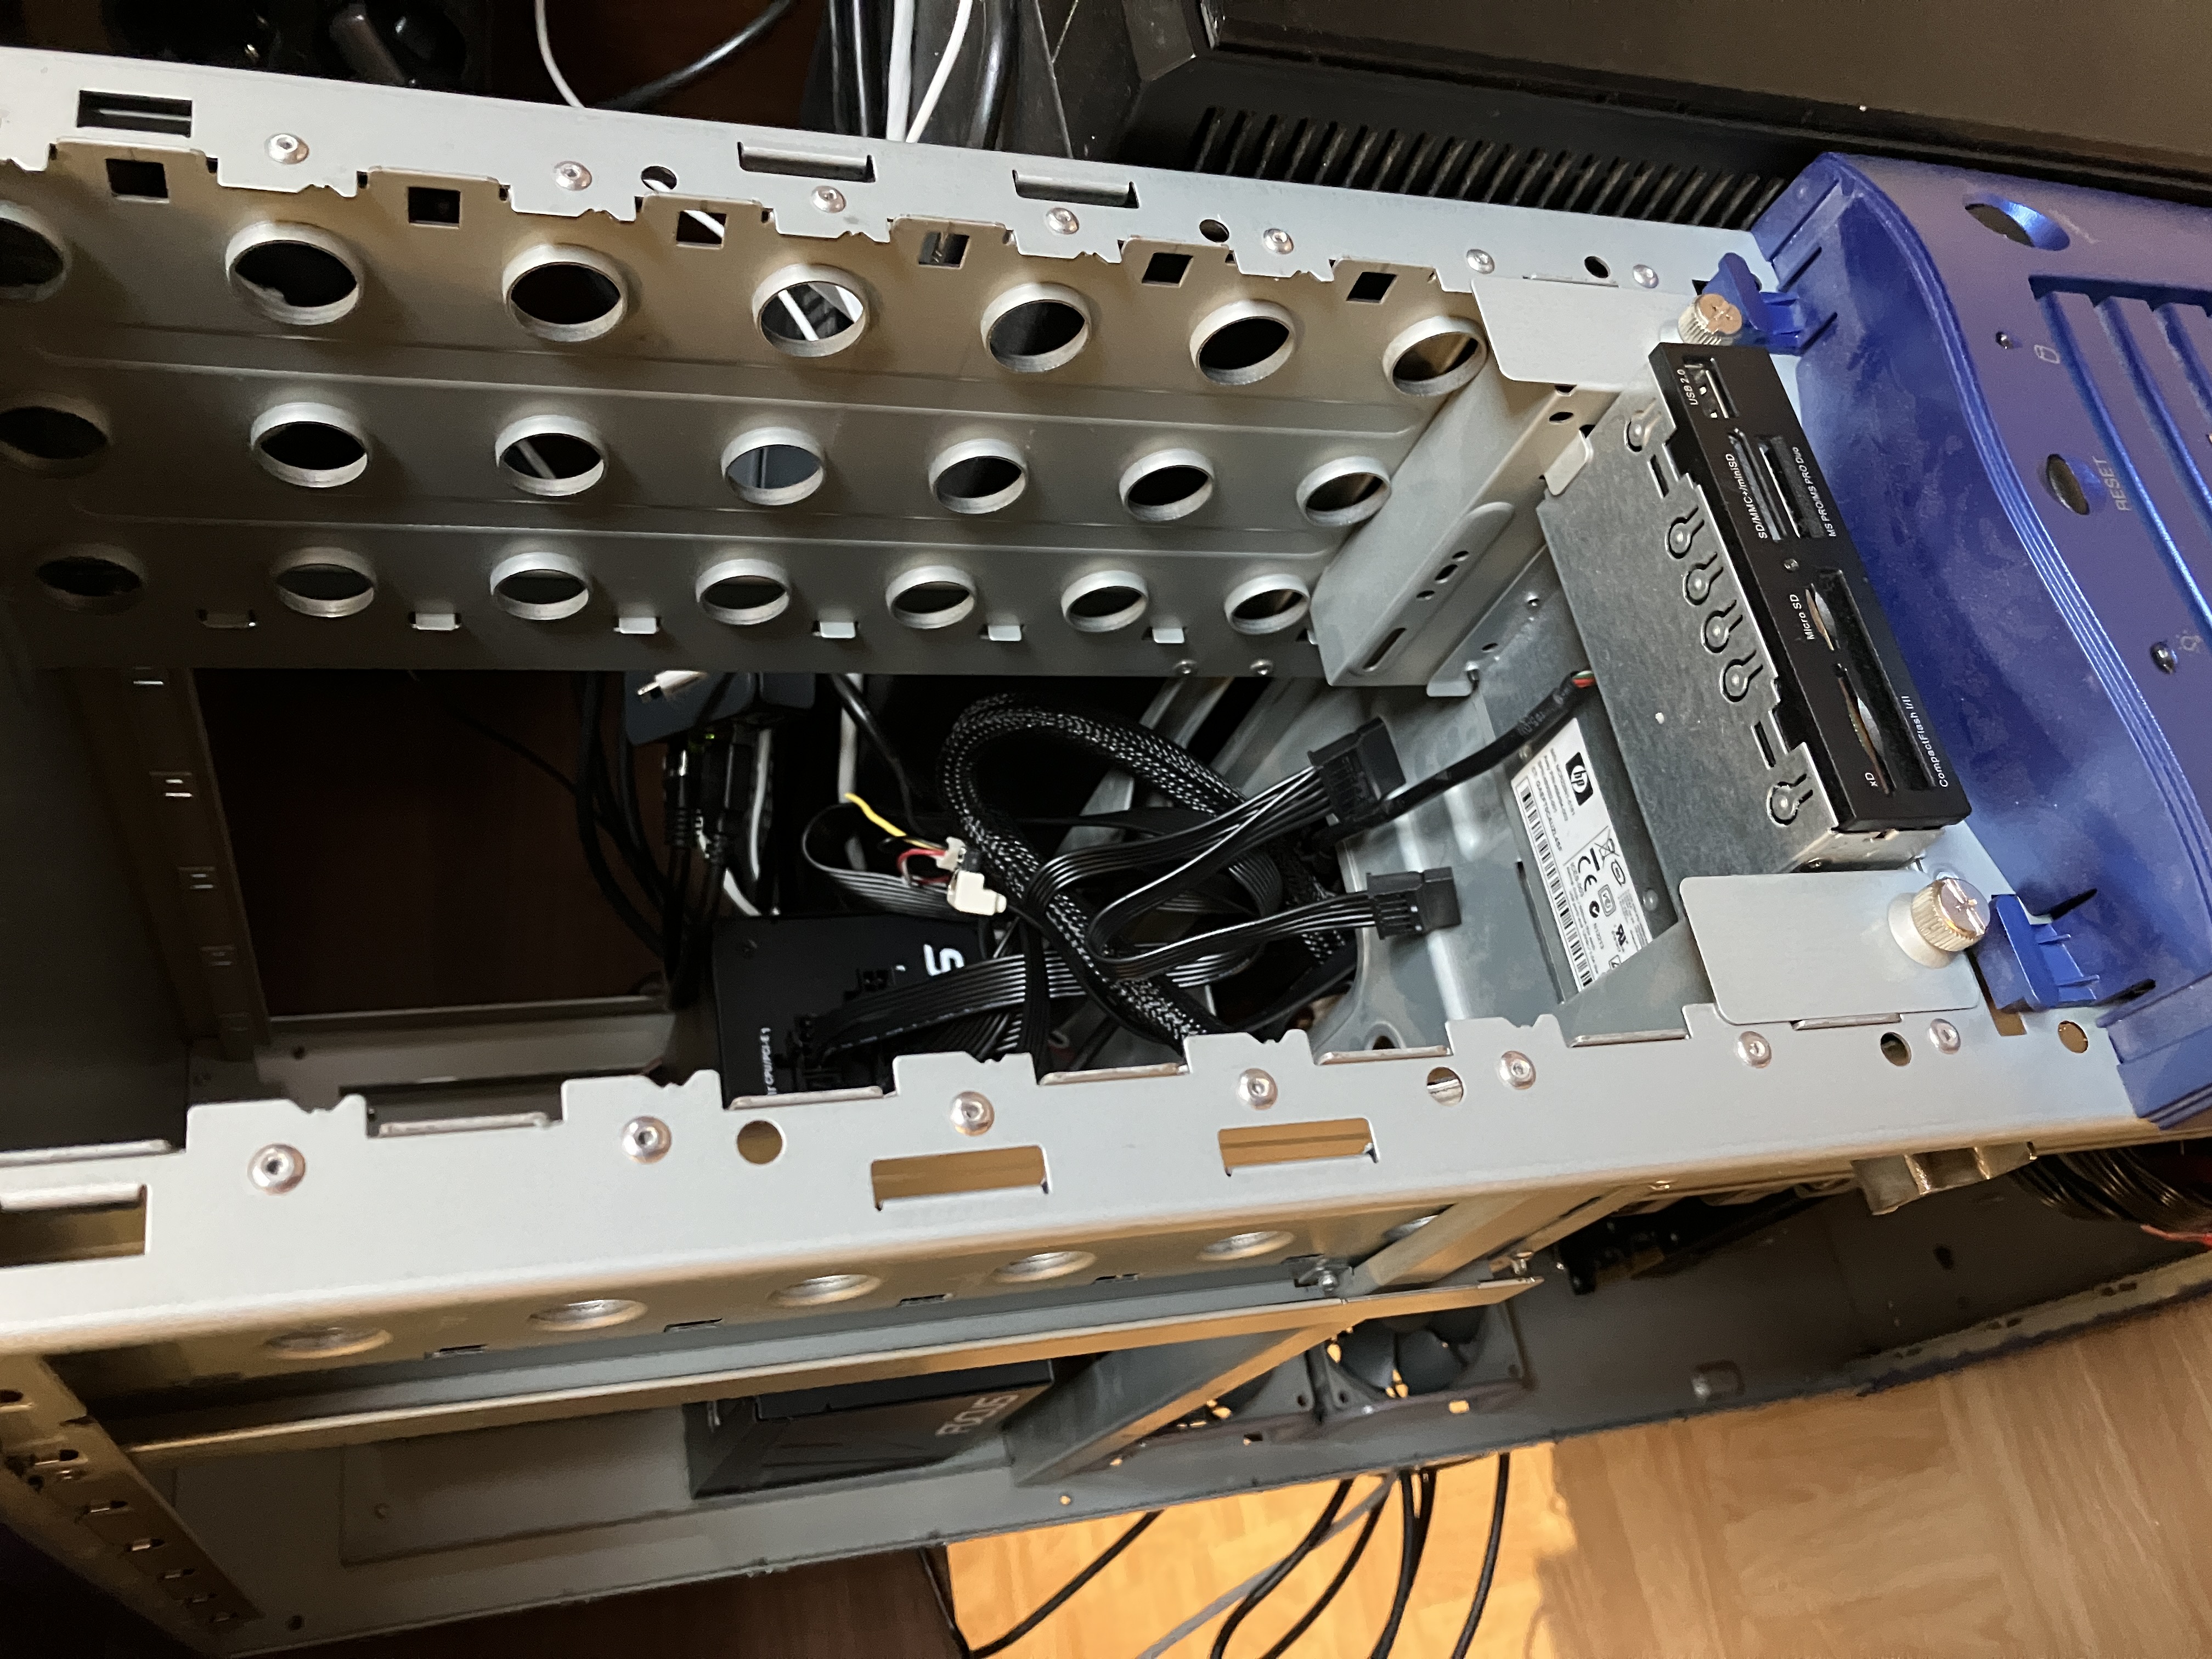
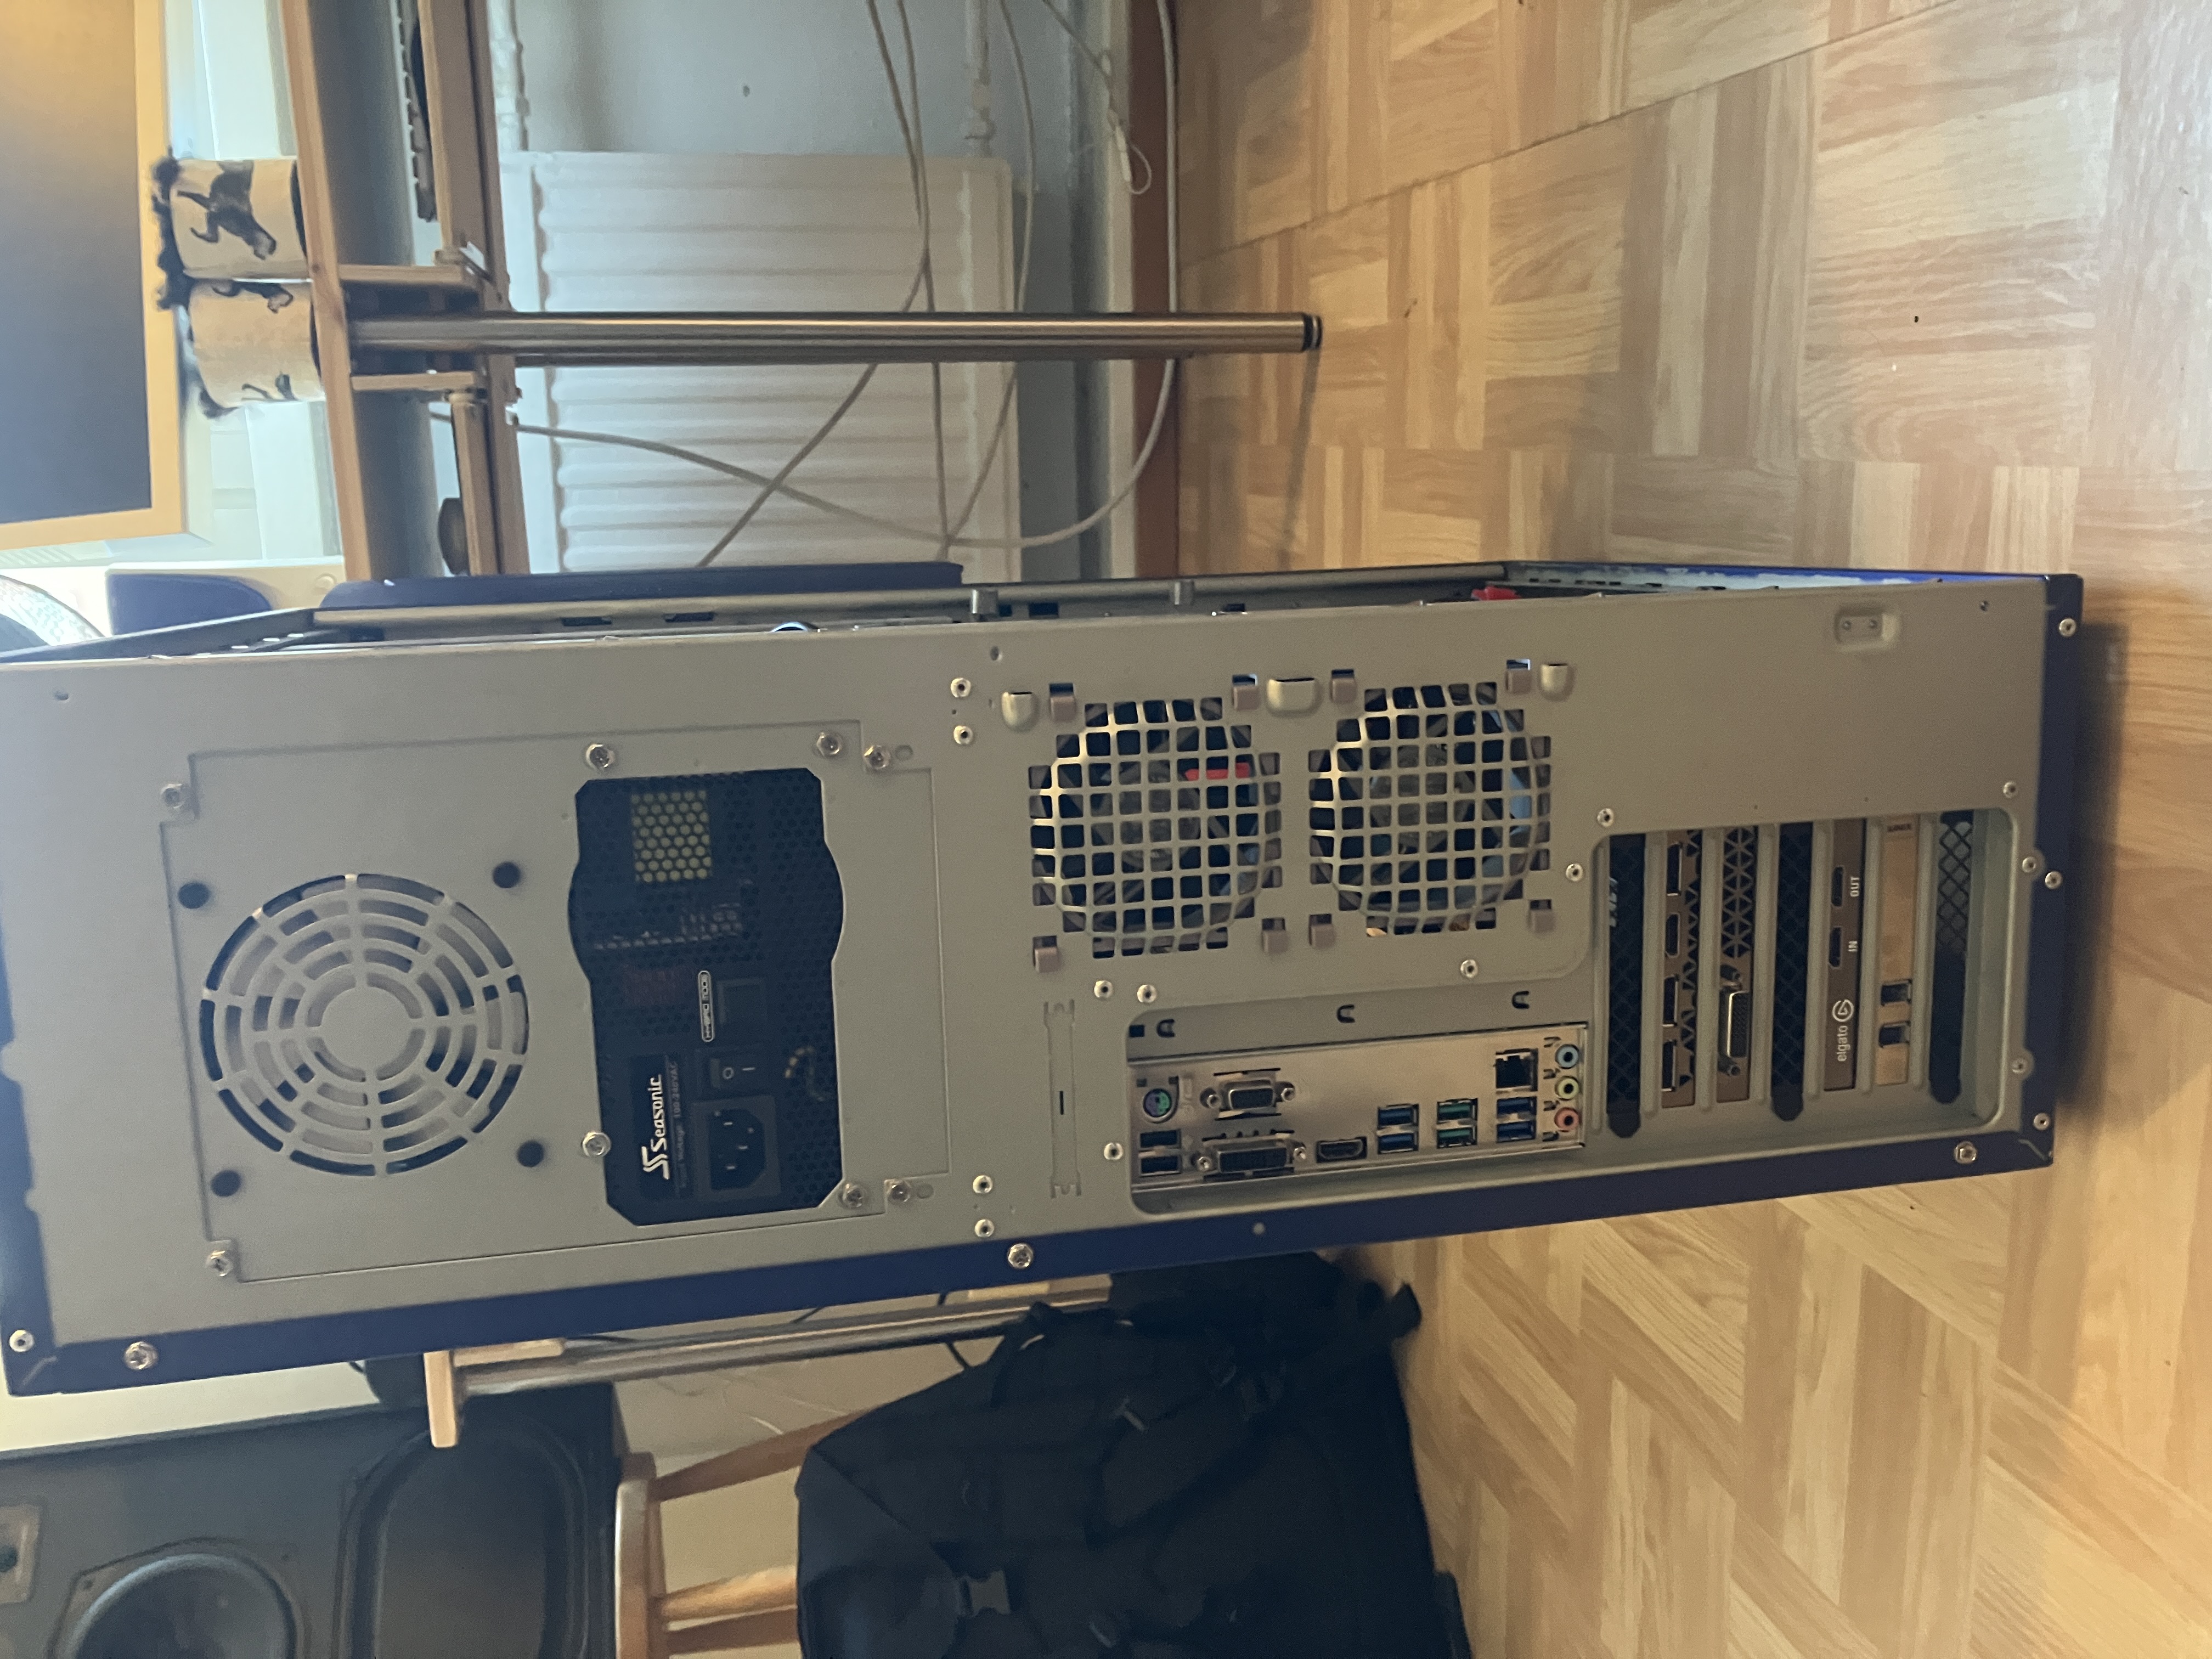
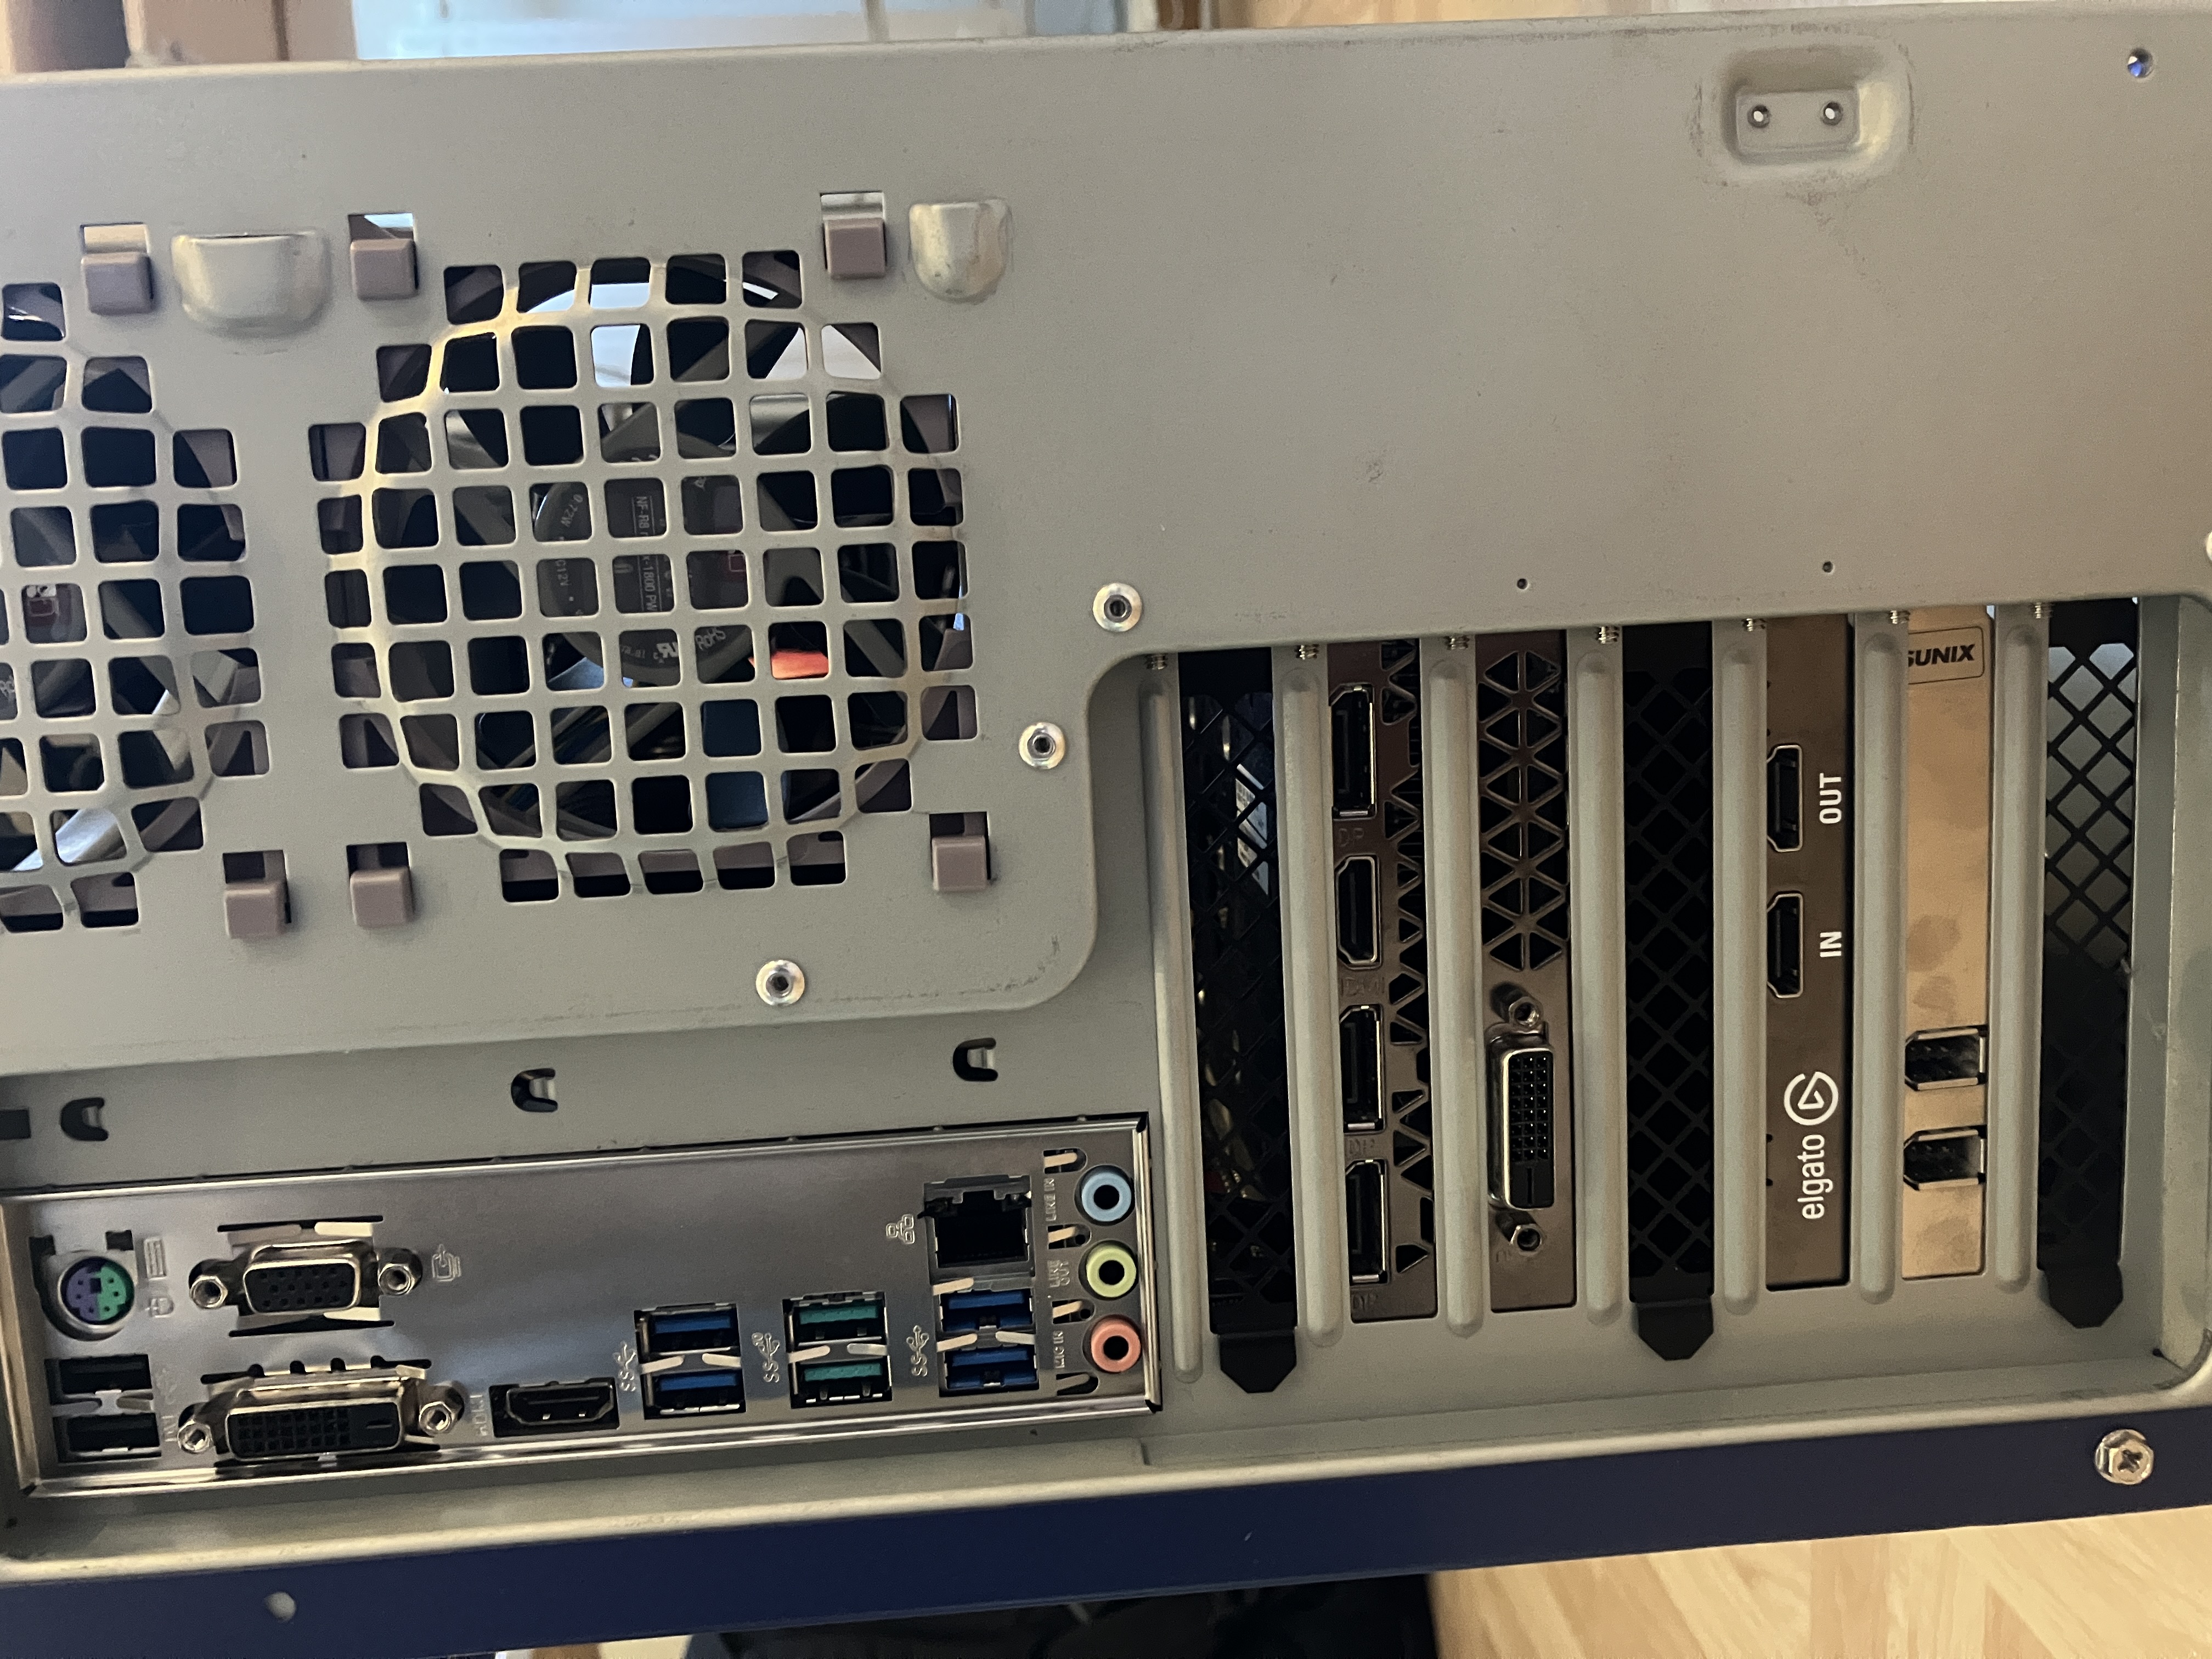
Here are some shots from the back:
When the build was finally finished, I was relieved to find out there were no further issues (at least for the time being), and everything just worked.
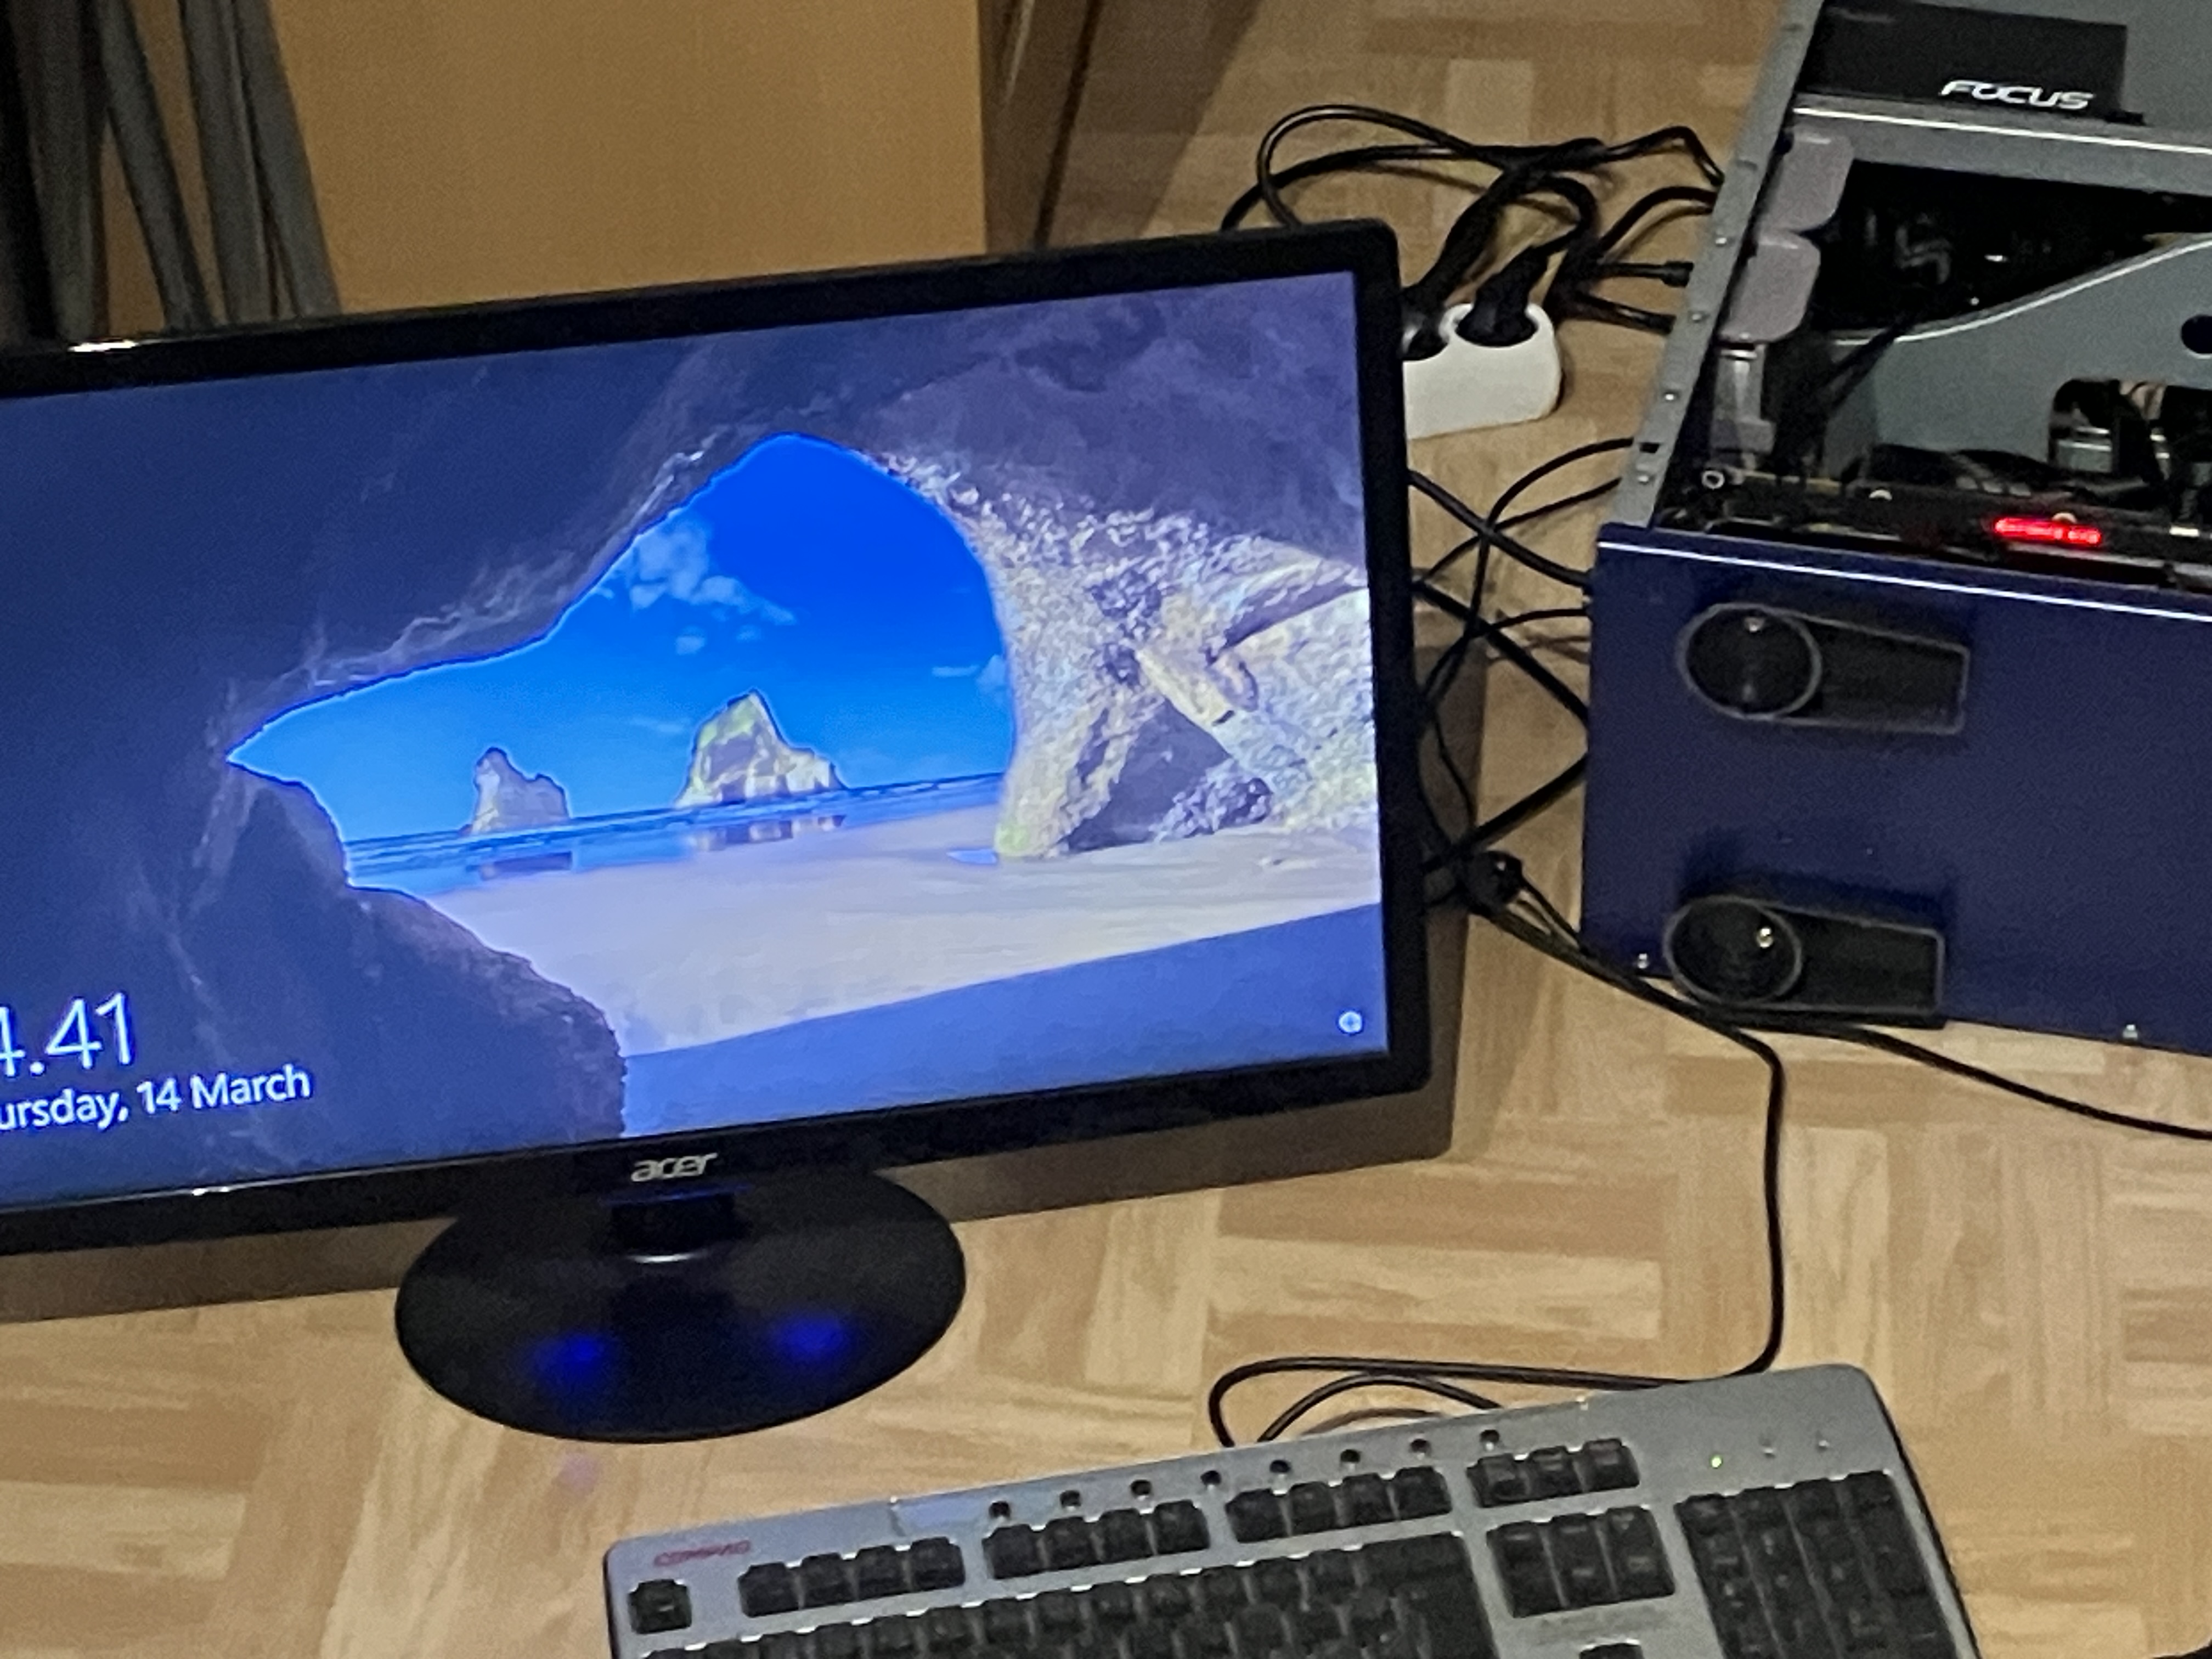
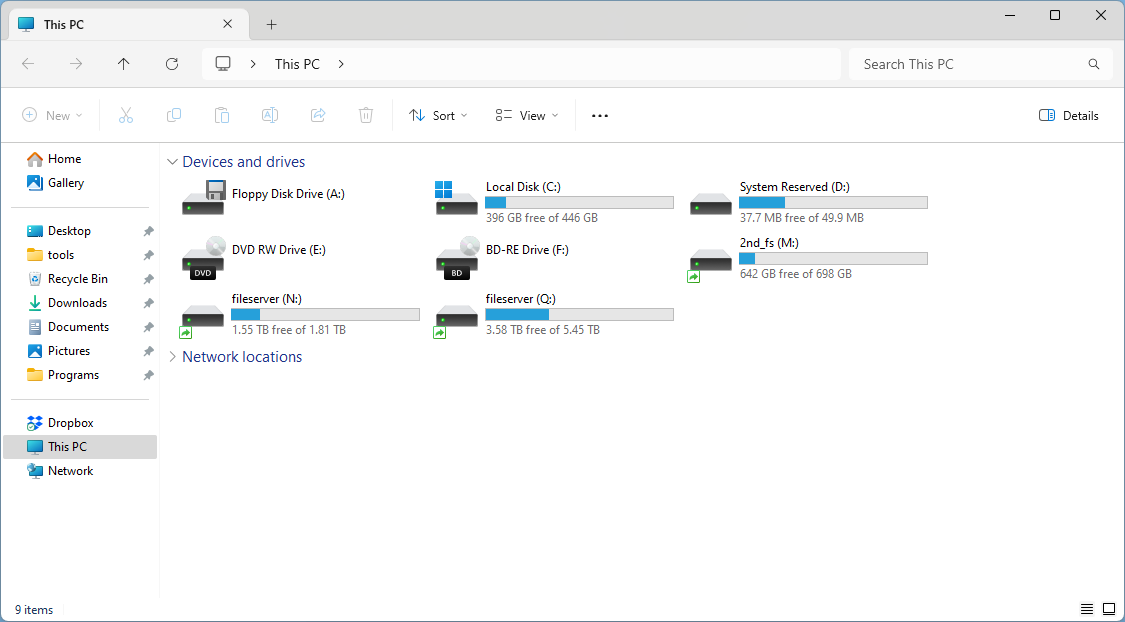
This is how "This PC" looks in Windows:
Here are the final specs:
The grand total for this 7-year-old mid-range PC ended up at 577.25 € + various shipping costs. However, given the actual use case, I couldn't be happier (apart by getting four functional front panel USB 3 ports, grr!).
As to what happened to the old Shitbox server, I brought it over to my parents', loaded it full of leftover hard disks, and installed Debian on it. It now hosts my off-site backups. So, I guess I also went with option #1…